A well-placed image or video shows the product you’re asking about or puts a face next to the question. Every question, welcome screen, and ending screen in Yay! Forms can carry its own media.
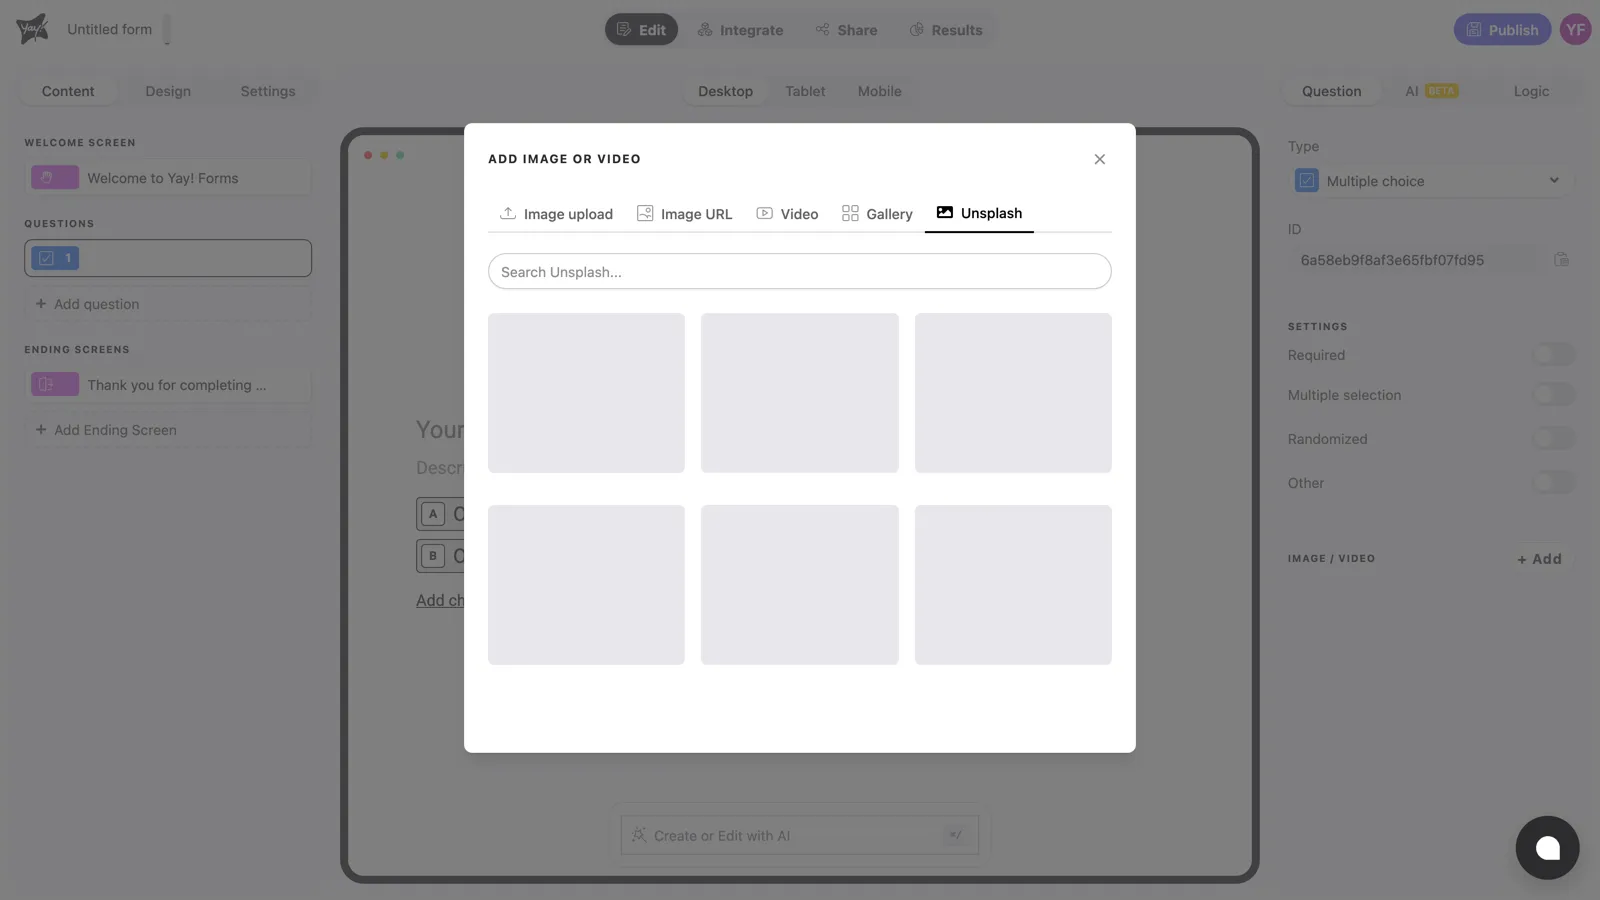
Open the media panel
Select the question and click + Add next to Image / Video in the right panel. The media panel opens with five ways to add media:
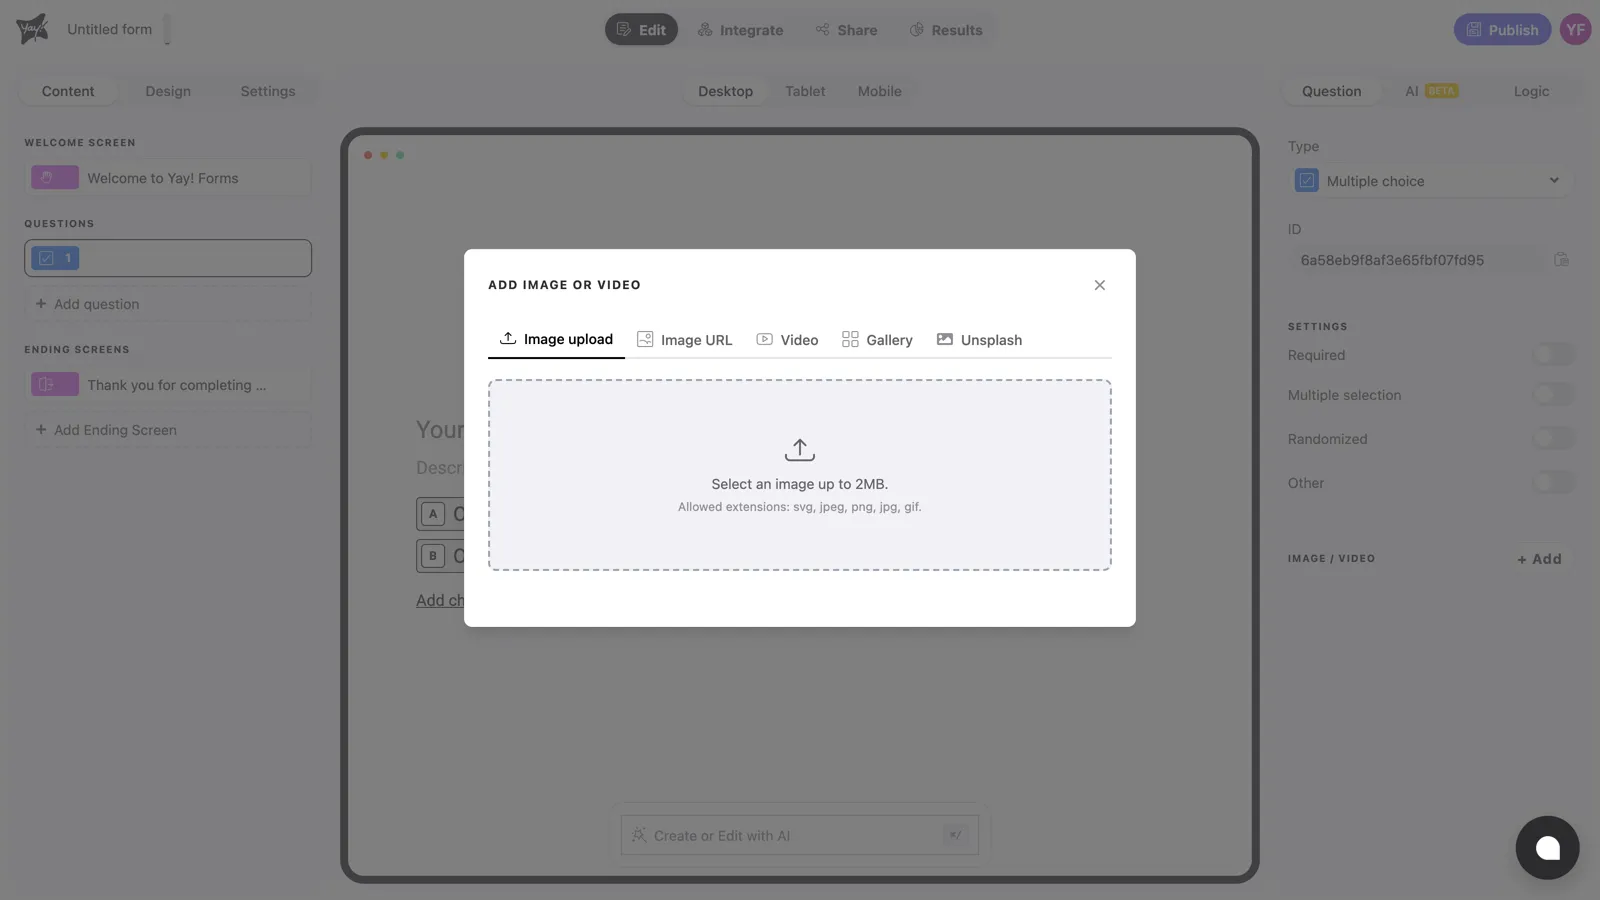
Image upload
Upload a file from your device. Files can be up to 2 MB, in SVG, JPEG, PNG, JPG, or GIF format. This is the tab for logos and product shots (and yes, animated GIFs work).
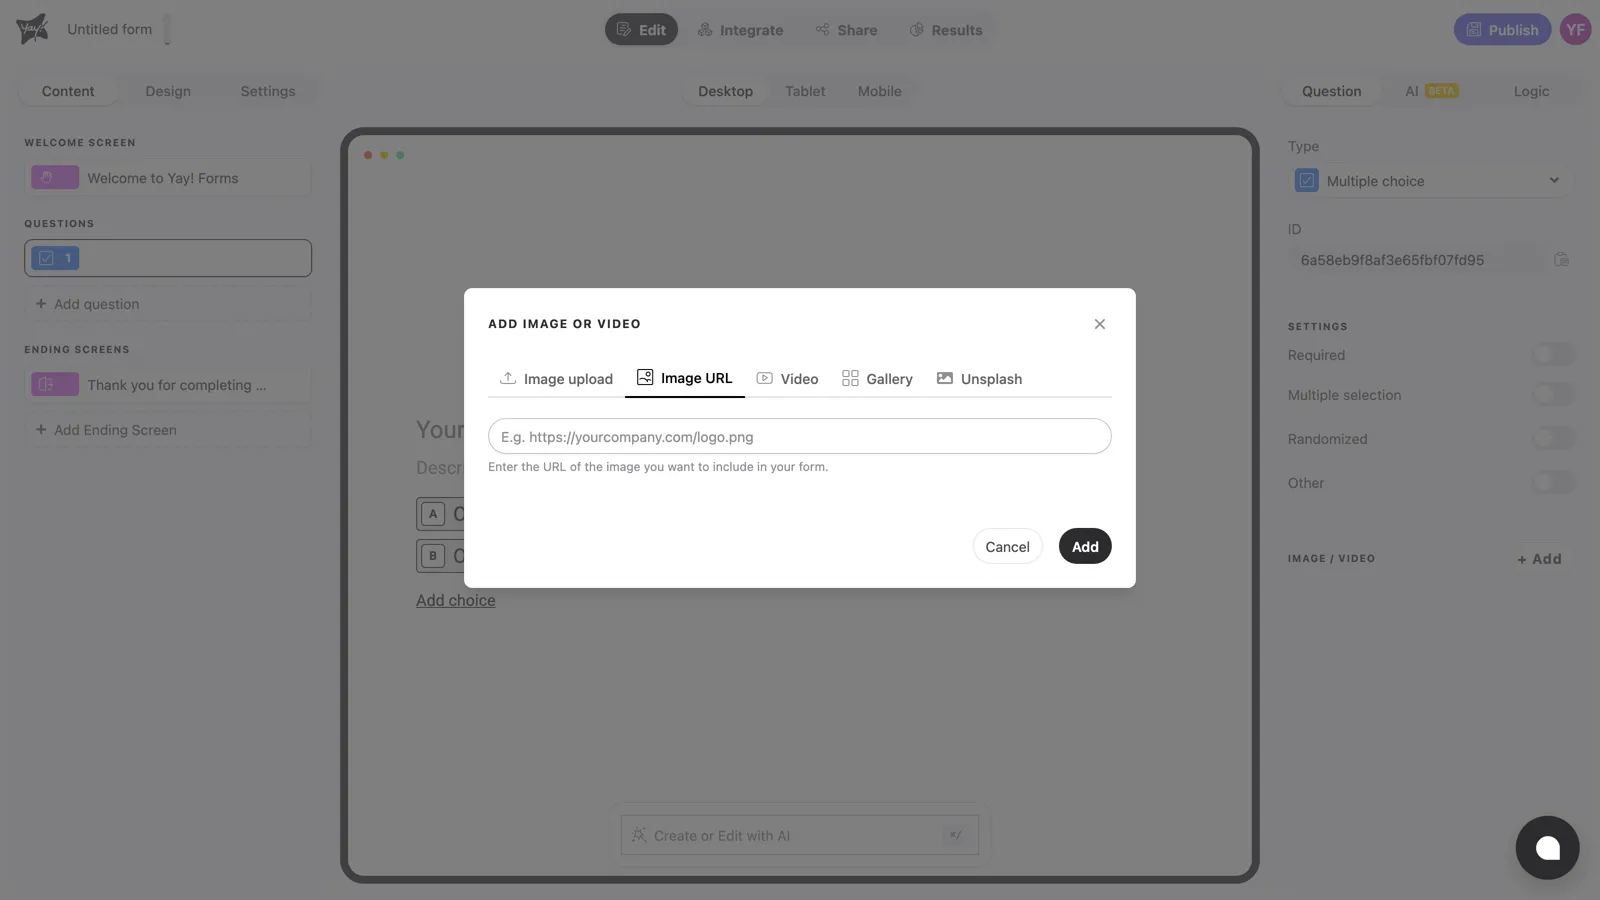
Image URL
If the image is already hosted somewhere, paste its URL, for example https://yourcompany.com/logo.png.
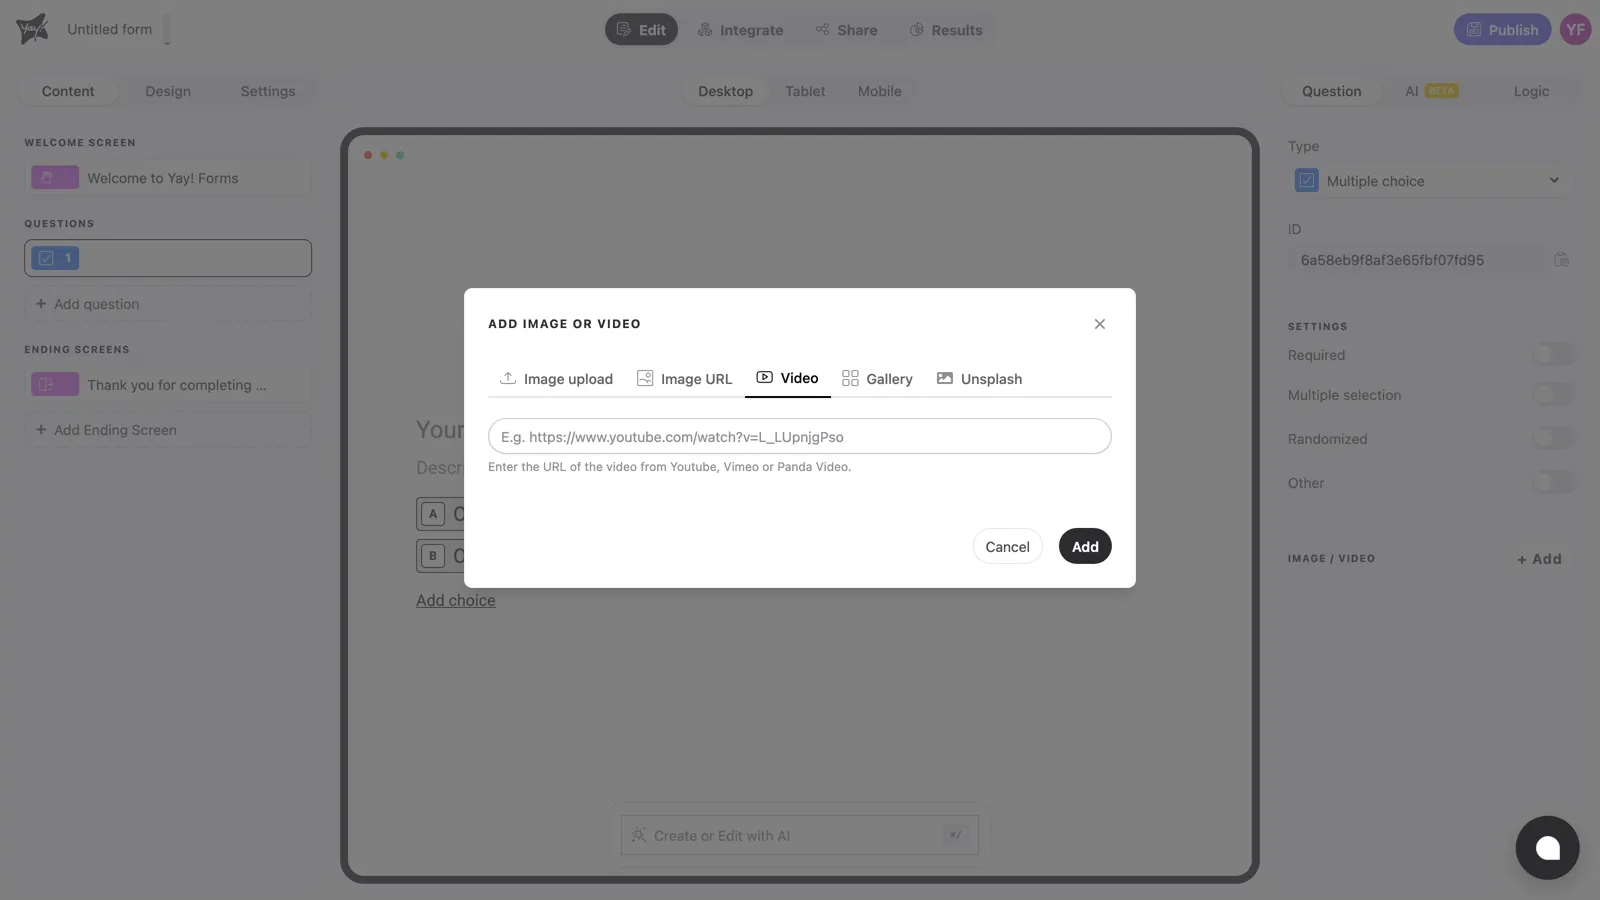
Video
Paste the URL of a video from YouTube, Vimeo, or Panda Video and it plays embedded in the question.
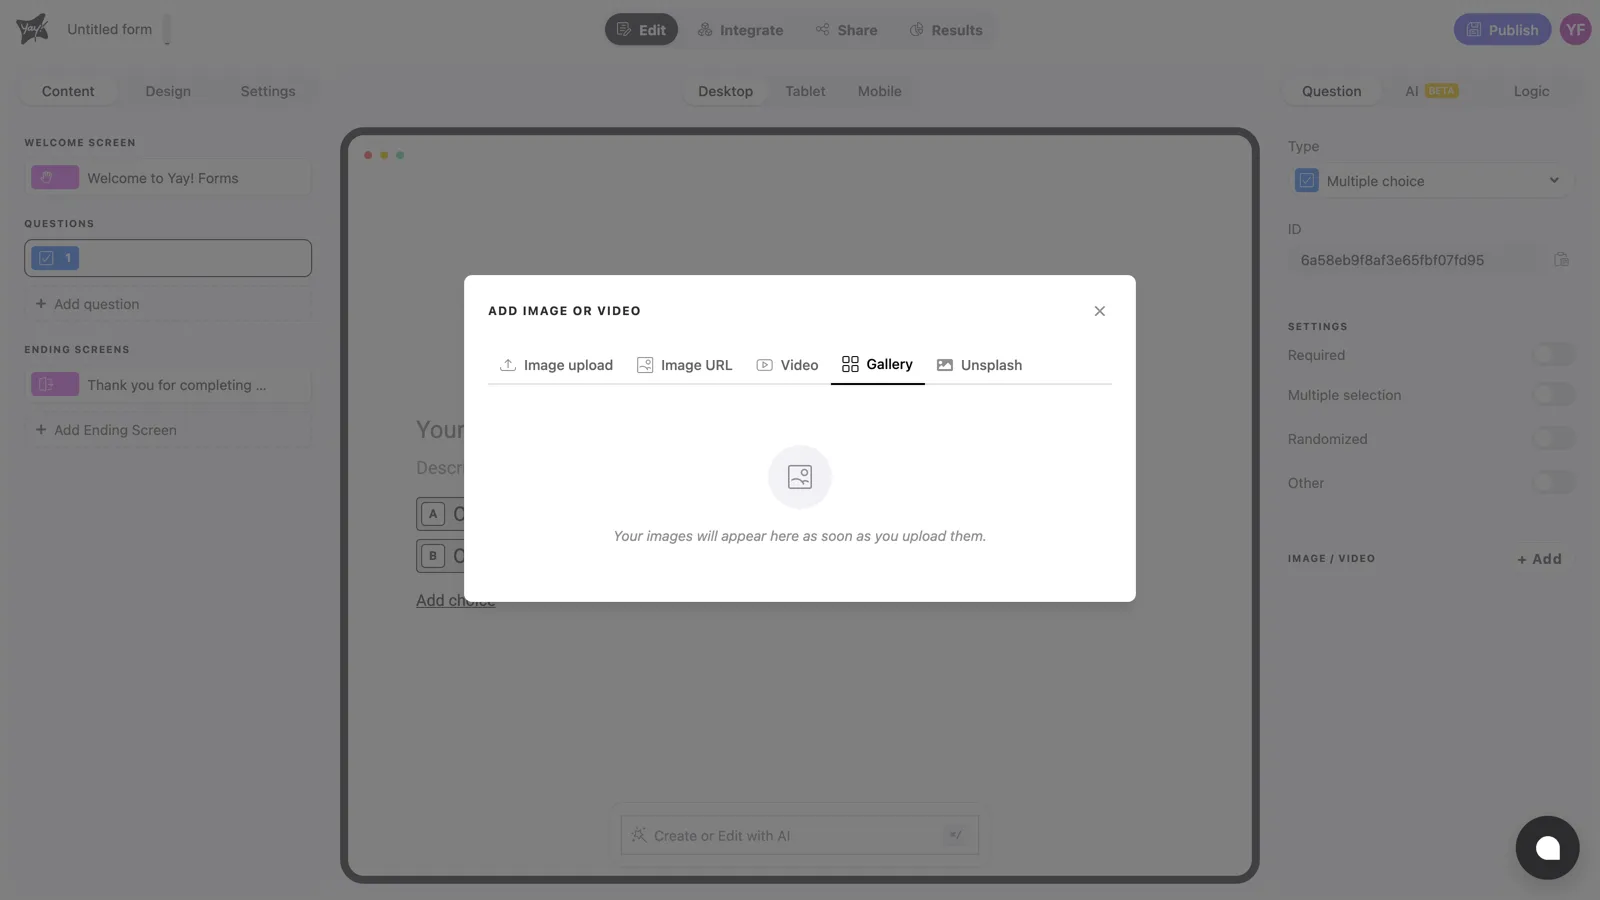
Gallery
Everything you’ve already uploaded lives in the Gallery. Reuse an image on another question without uploading it again.
Unsplash
If you don’t have a photo at hand, search Unsplash’s free photo library right from the panel.
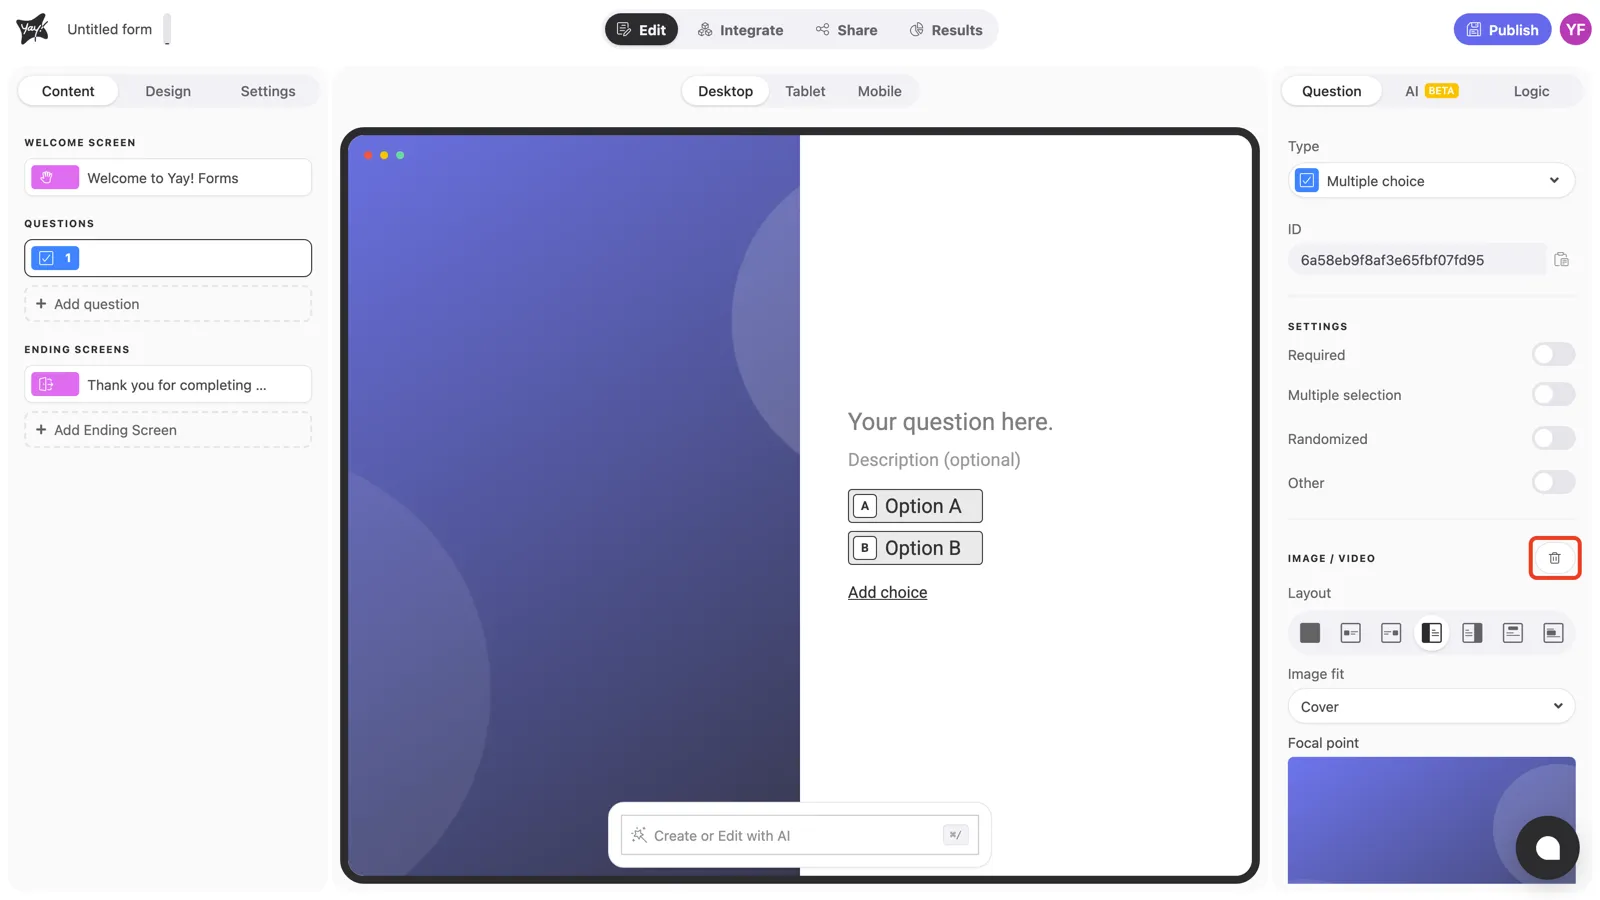
After adding media
Once the media is attached, the Image / Video section shows its controls: the Layout row (where the image sits relative to the question), size fields for some layouts, and Alt Text. Fill in the alt text to describe the image for screen readers.
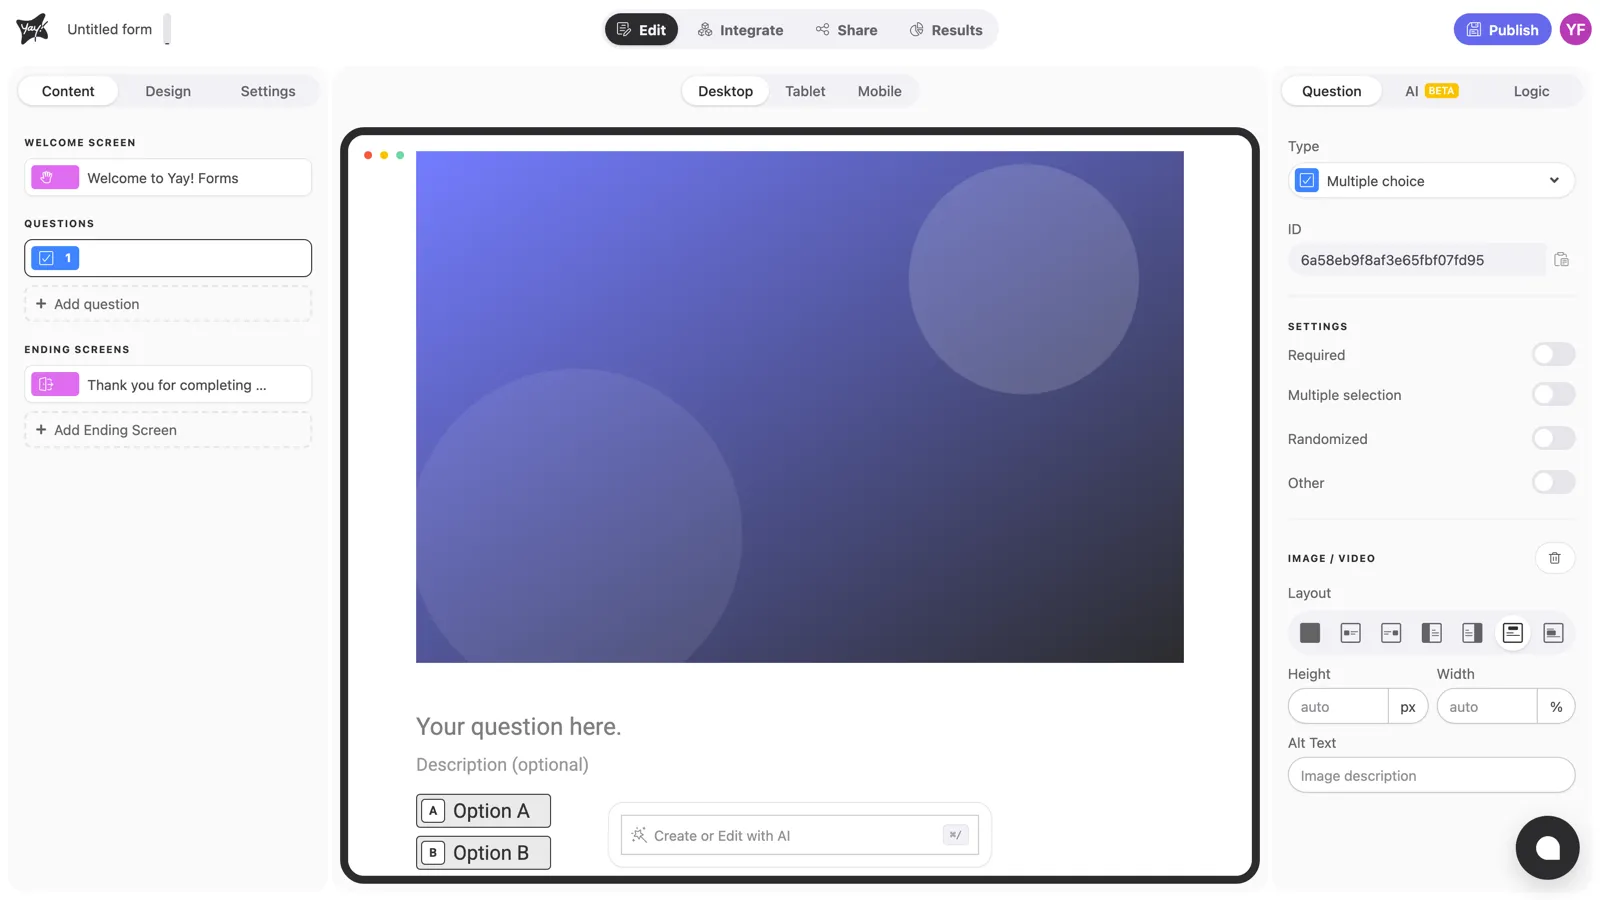
The canvas previews exactly how respondents will see it:

To remove the media, click the trash icon at the top of the Image / Video section.
Conclusion
You’ve learned the five ways to add media to a question: upload, URL, video embed, gallery, and Unsplash. You also know where to set alt text and how to remove media.
Related articles: