Yes/No is the fastest question to answer in Yay! Forms: two options, one click. Use it for binary decisions, consent checks, and as the trigger for conditional paths in your form.
In this article you’ll learn how to add a Yes/No question, edit its text, and configure its settings.
When to use a Yes/No question
Use Yes/No when the answer really is binary: “Do you currently use a form builder?”, “Would you like to receive our newsletter?”. It’s also the natural companion for conditional logic: send “Yes” respondents down one path and “No” respondents down another.
If you need more nuance than yes or no, use a Multiple choice question instead.
Add a Yes/No question
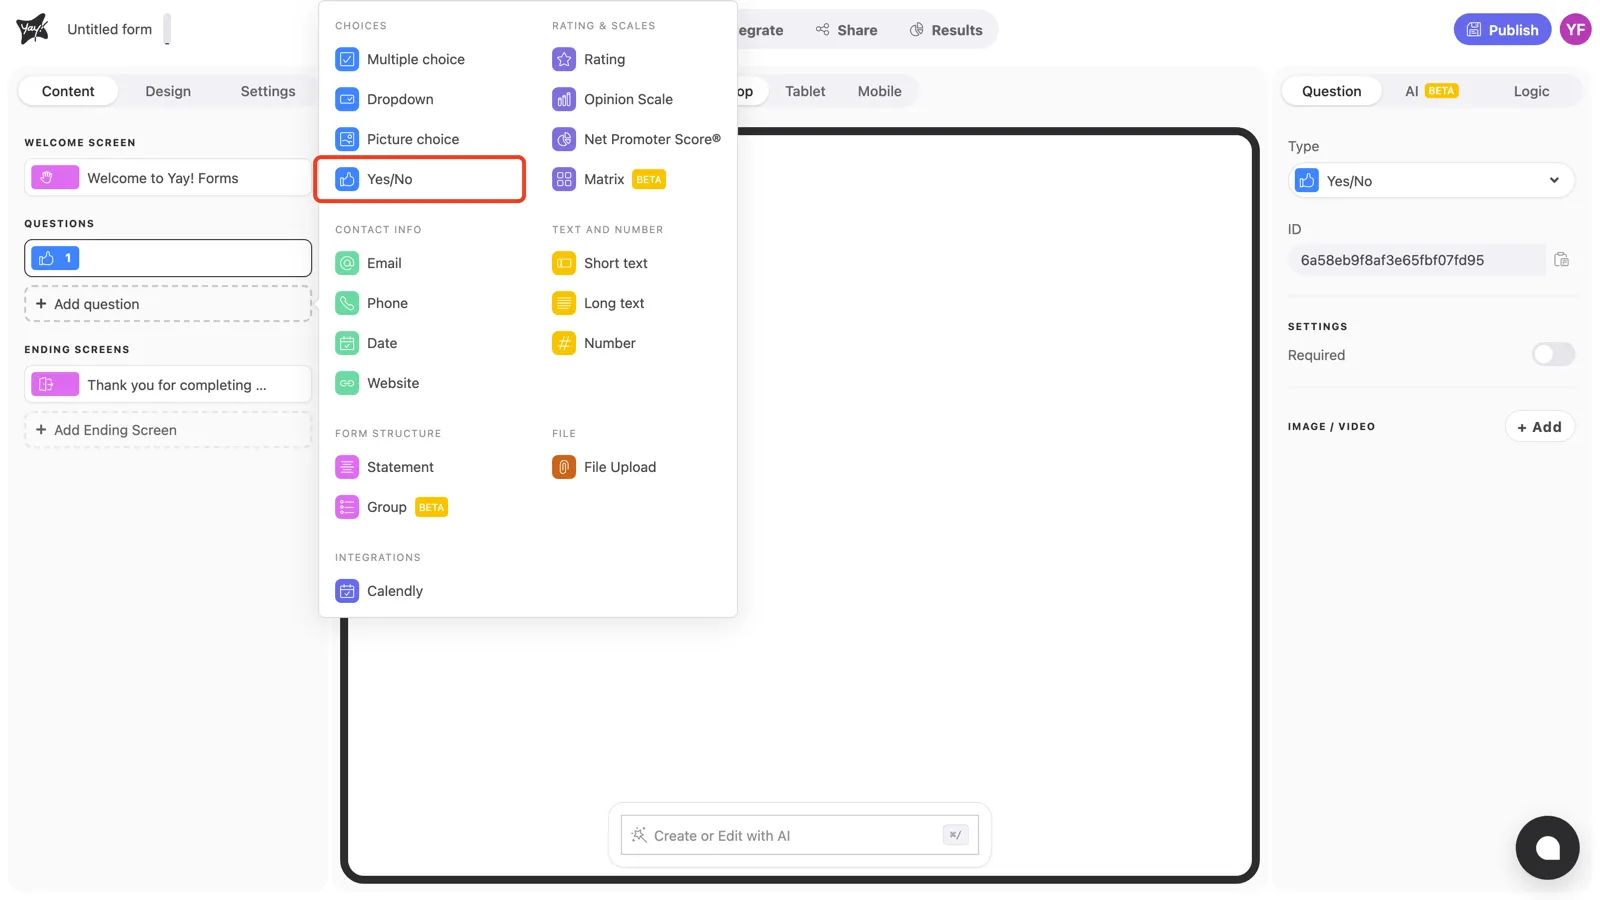
Click + Add question in the left sidebar and pick Yes/No under Choices.
Write the question and description
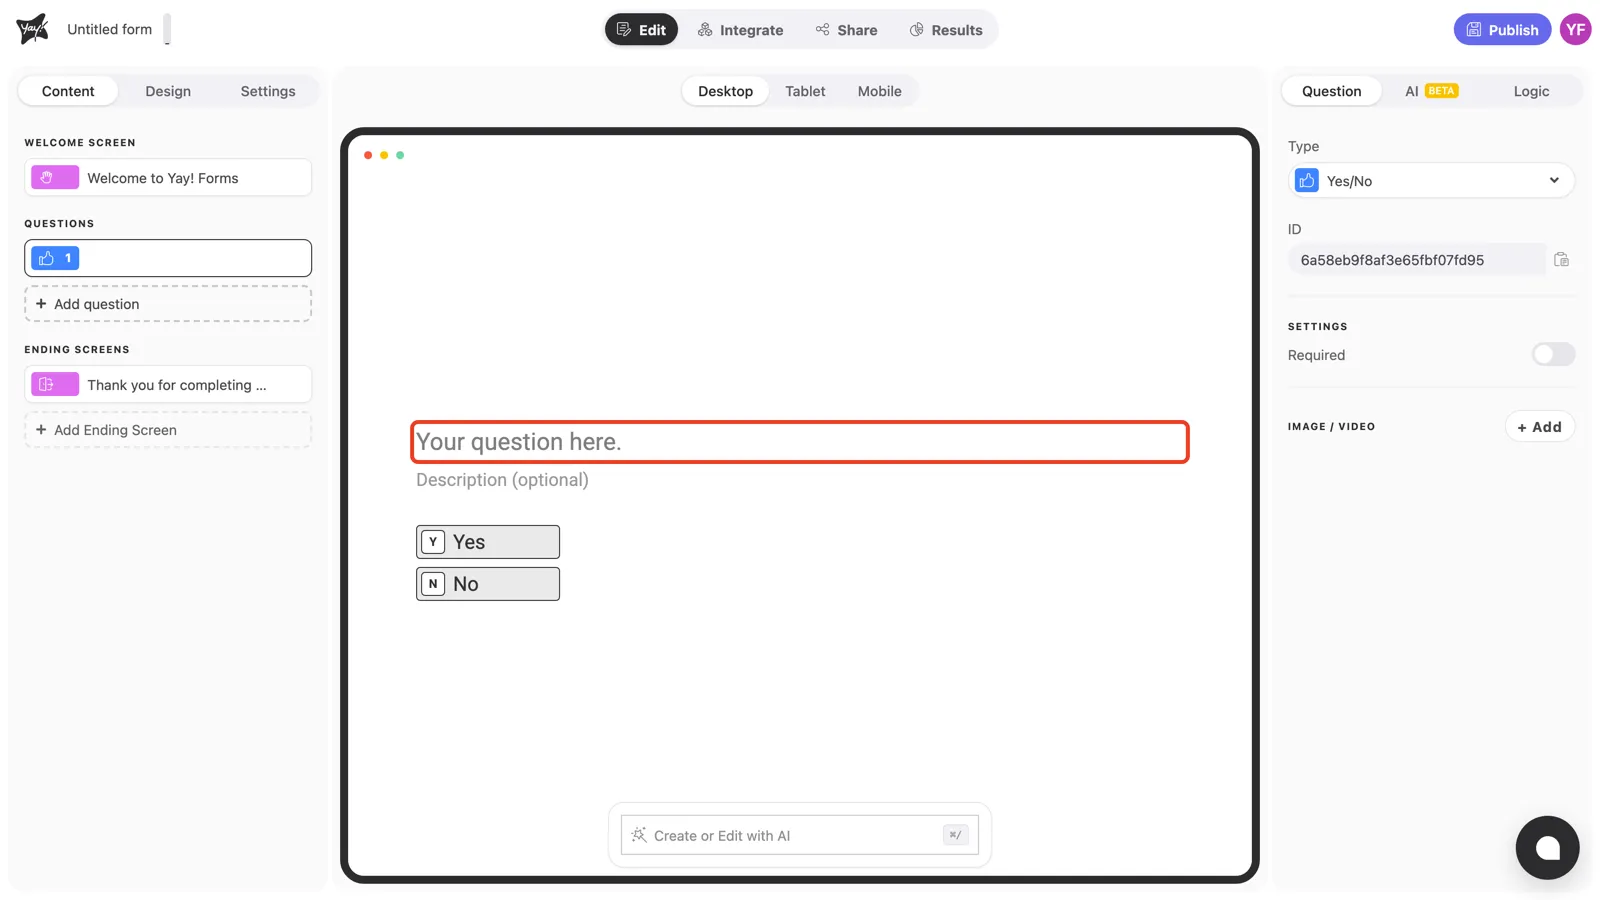
Click “Your question here.” in the canvas and type your question.
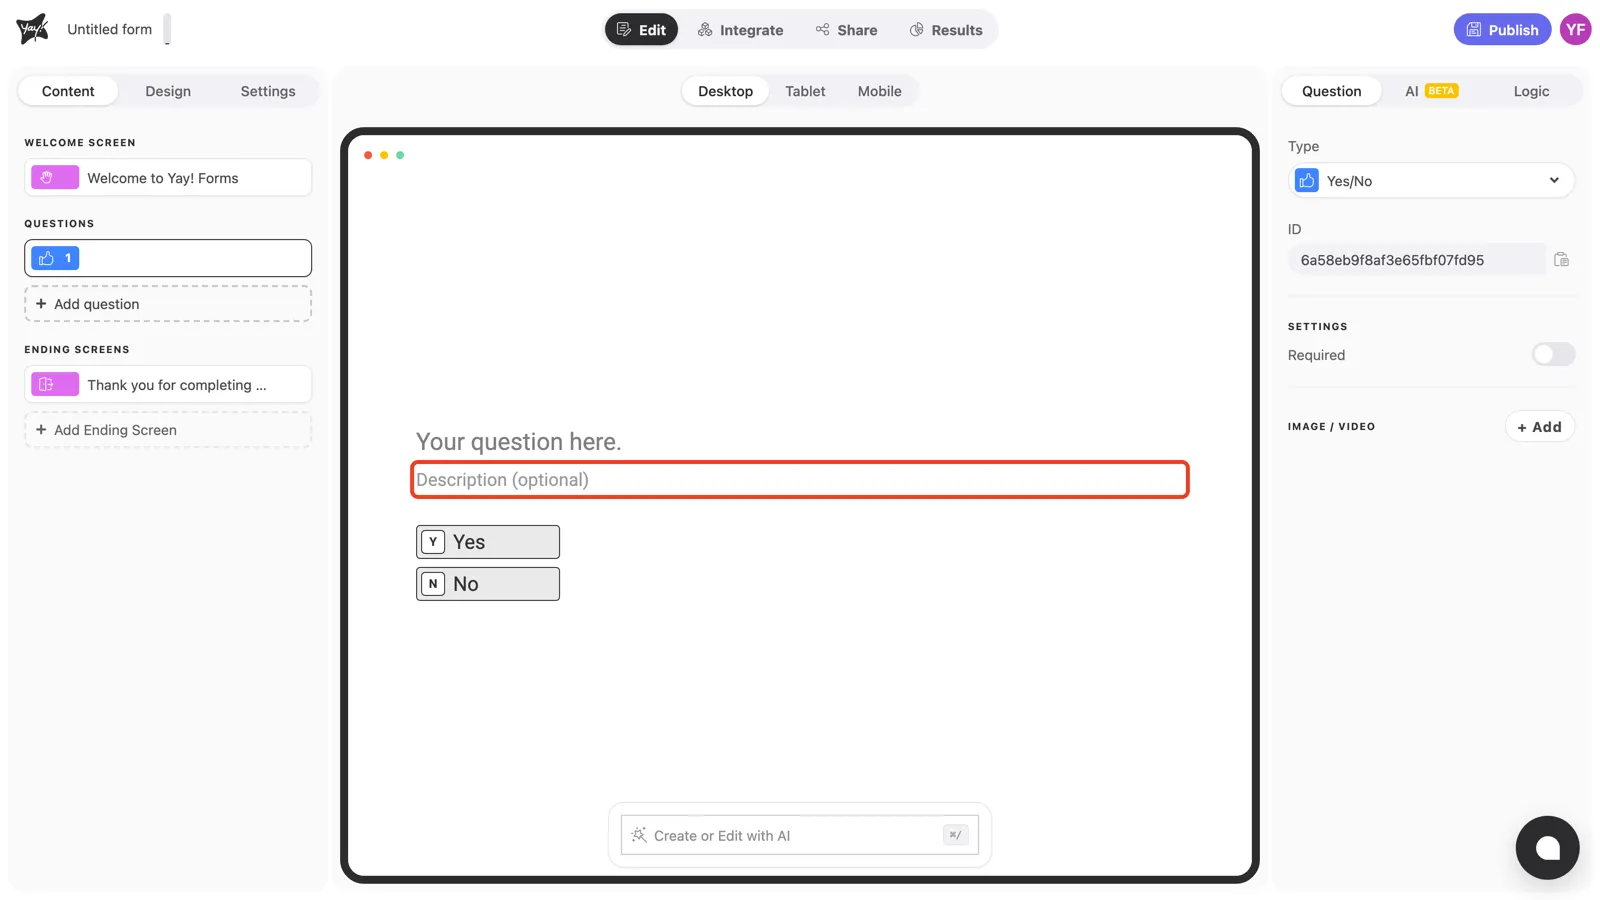
If the question needs context (for example, what exactly the respondent is agreeing to), add it in the optional description field below.
Question settings
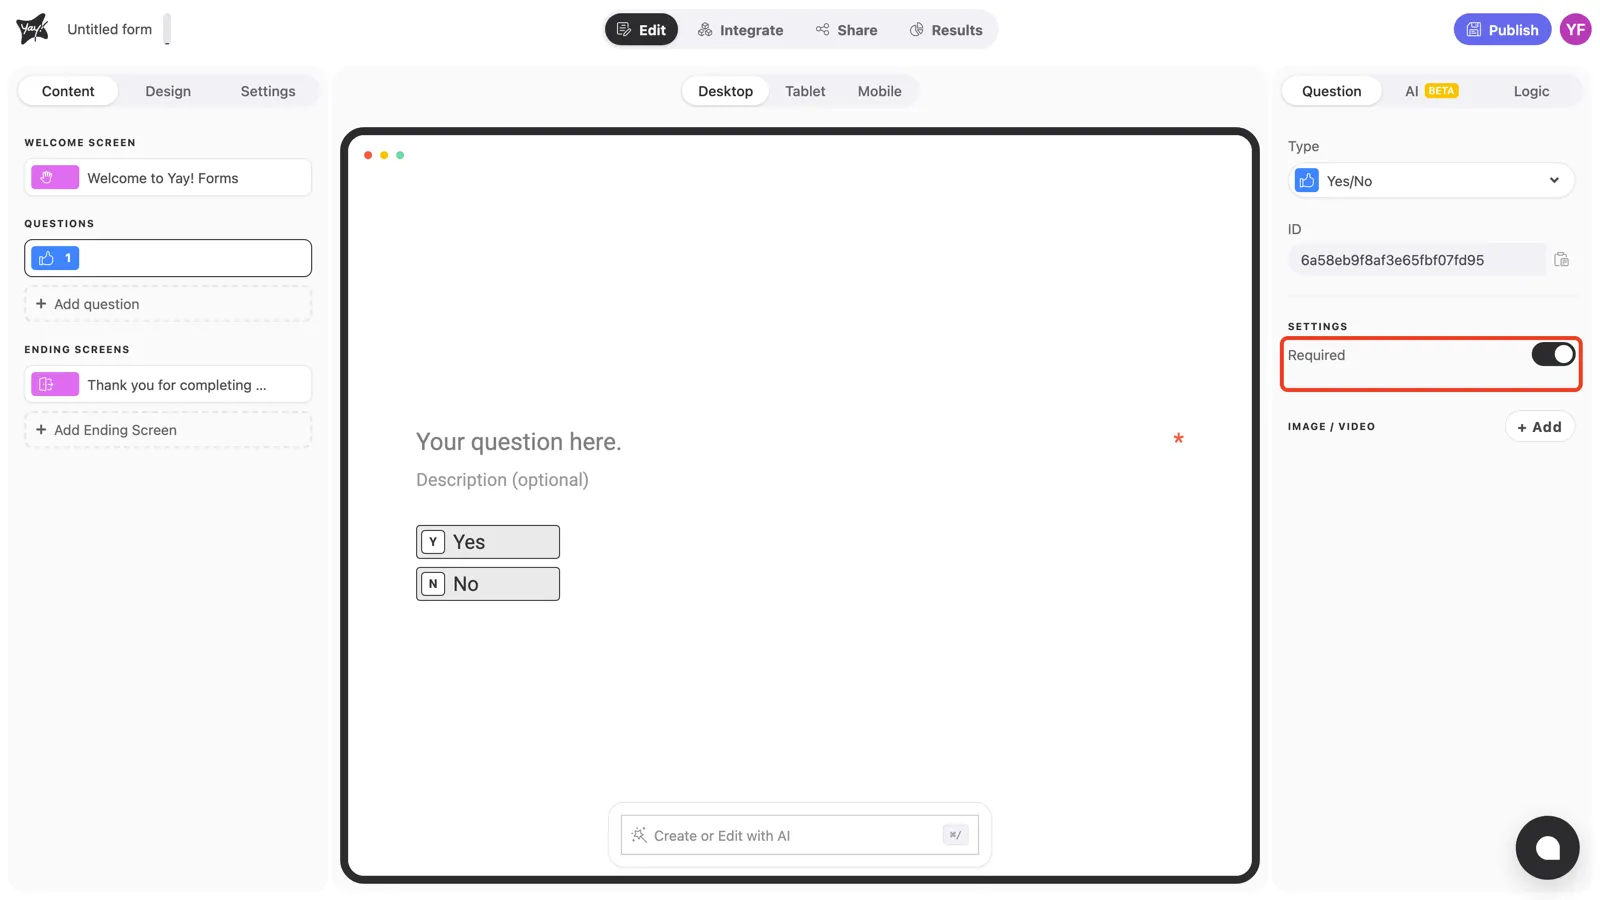
Yes/No questions keep settings simple: turn on Required in the right panel to prevent respondents from skipping the question. An asterisk appears at the end of the question line, and the form won’t advance until an answer is picked.
Conclusion
You’ve learned how to add a Yes/No question, edit its text and description, and require an answer. Combined with conditional logic, it’s the simplest way to branch your form.
Related articles: