Multiple choice is the most versatile question type in Yay! Forms: respondents pick an answer from a list of choices you define. Because every answer comes from a fixed list, the results are easy to compare, chart, and act on, unlike free-text answers, which need manual review.
In this article you’ll learn how to add a multiple choice question, edit its text and choices, and fine-tune its settings: required answers, multiple selections (with a selection limit), randomized order, and an “Other” option for answers you didn’t predict.
When to use a multiple choice question
Use multiple choice whenever the possible answers are known in advance, for example:
- Audience research: “How did you hear about us?”
- Preferences: “Which plan are you interested in?”
- Quizzes: one correct answer among distractors
- Segmentation: route respondents with conditional logic based on what they pick
If you only need a simple binary answer, a Yes/No question is faster to answer. If the choices are images, use a Picture choice question instead.
Add a multiple choice question
Click + Add question in the left sidebar. A menu opens with all question types grouped by category. Pick Multiple choice under Choices.
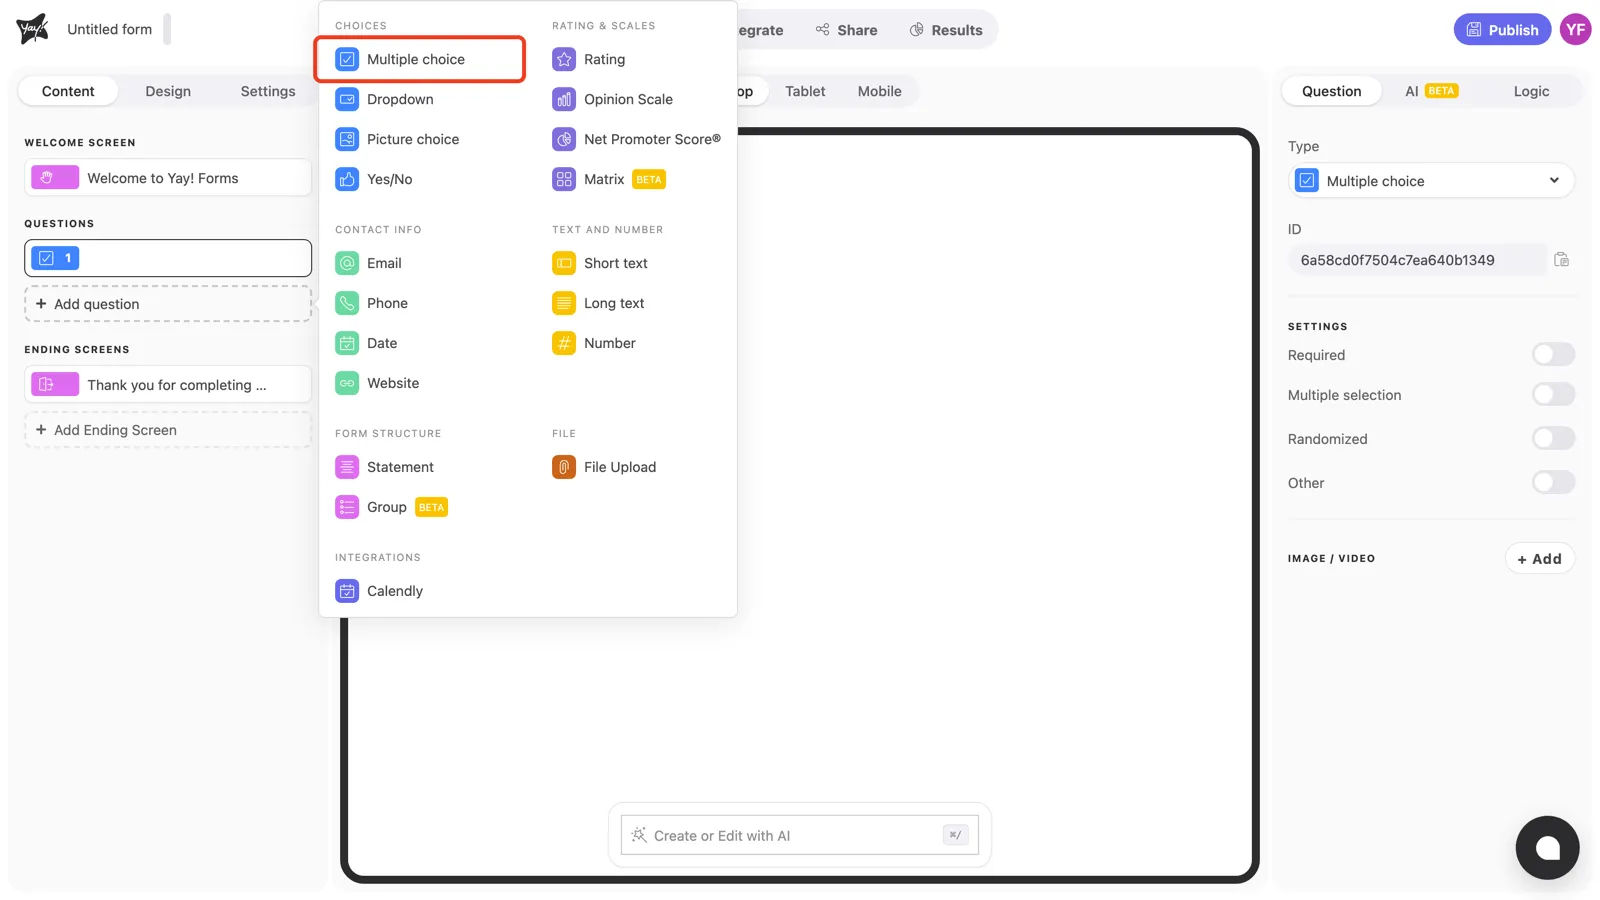
The new question appears in the Questions list on the left, and the center canvas shows a live preview of how it will look to respondents.
Write the question and description
Click “Your question here.” in the canvas and type your question.
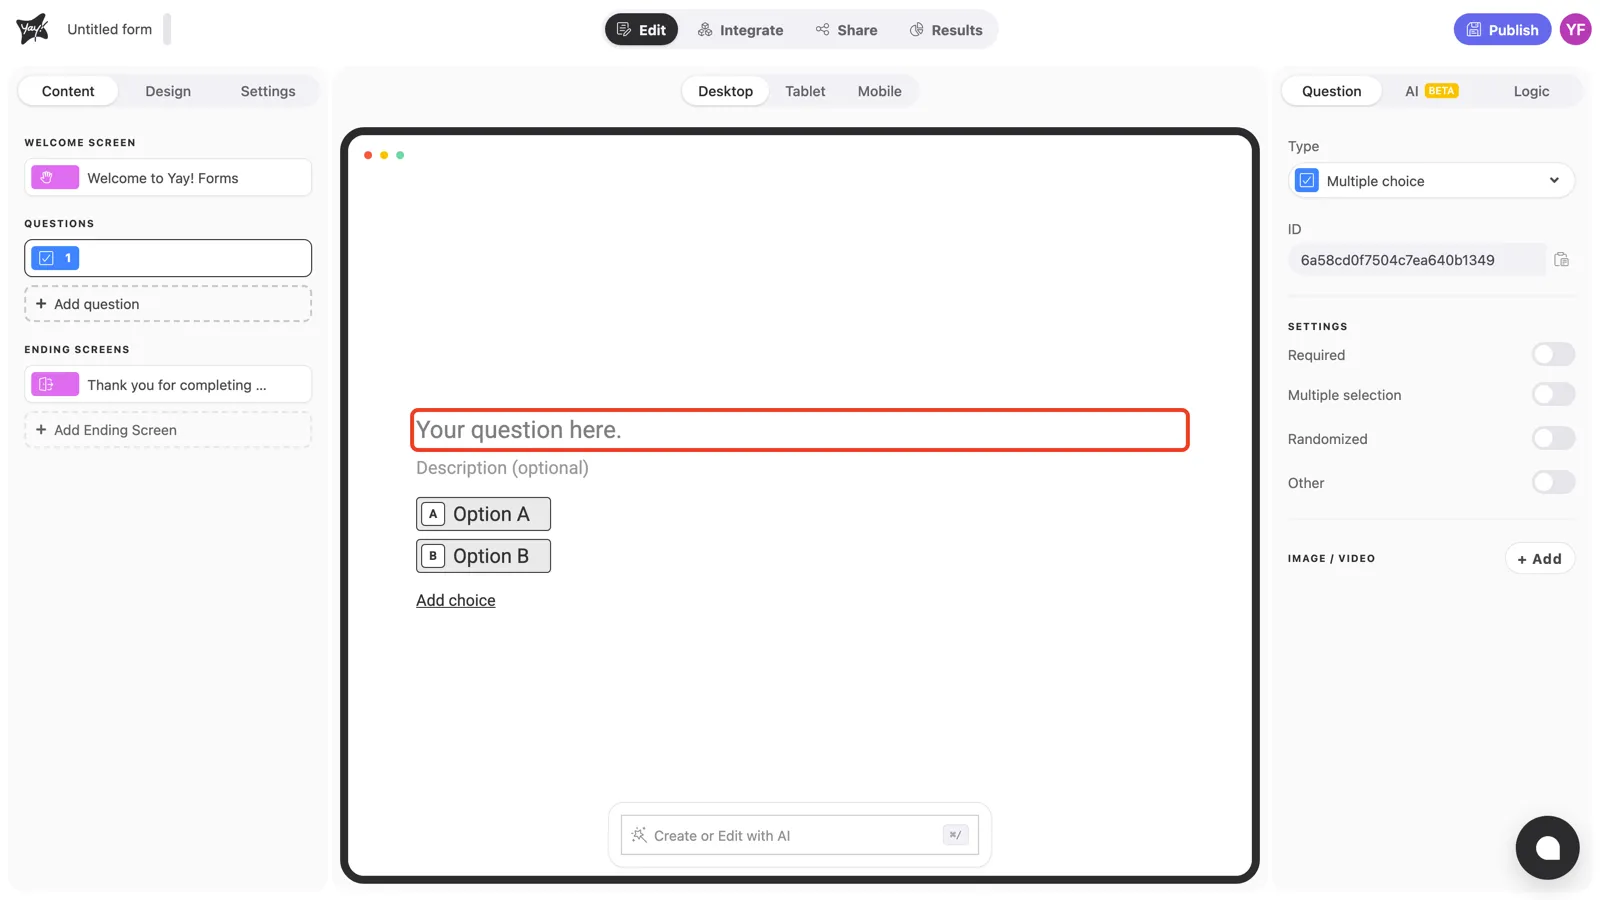
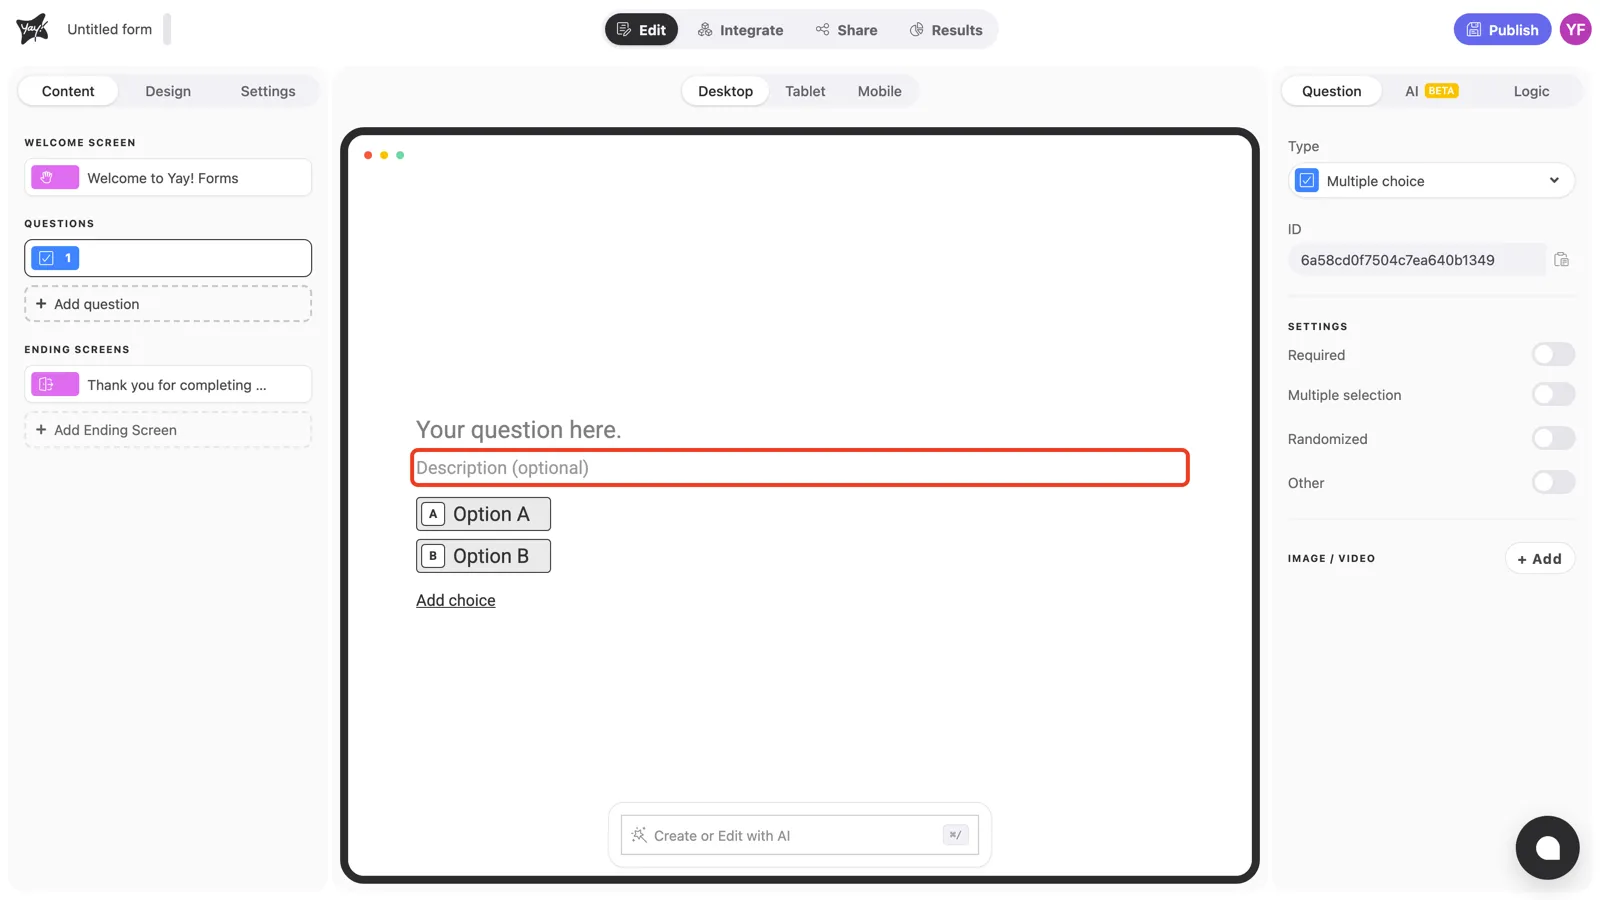
If the question needs extra context (instructions, an example, a clarification), click the description field right below it. The description is optional and appears in smaller text under the question.
Edit the answer choices
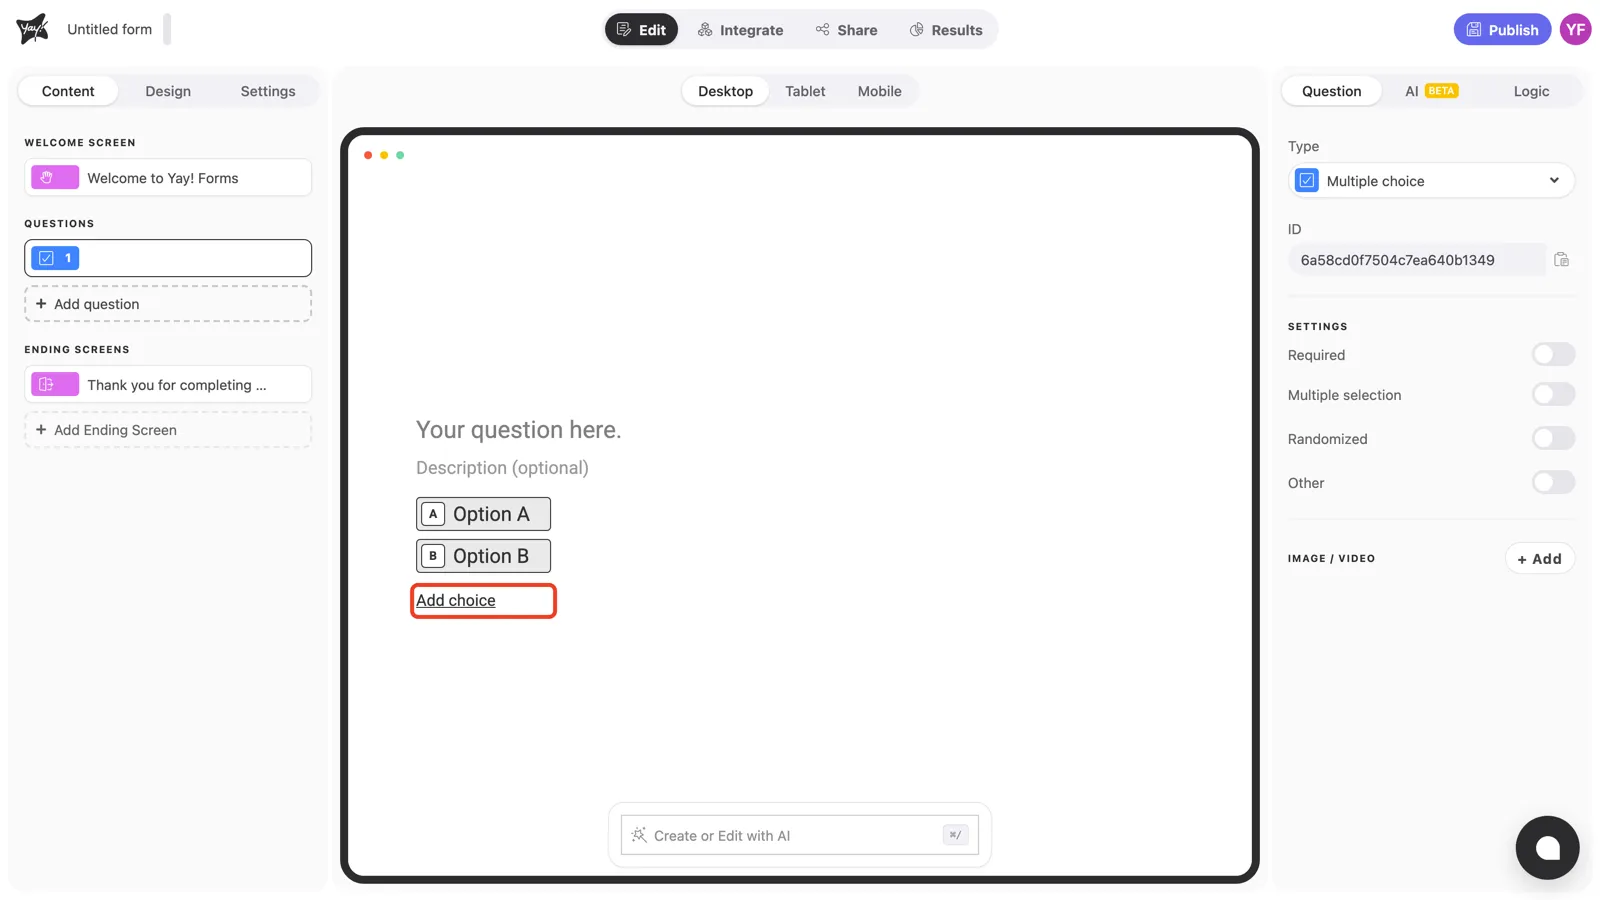
Click any choice and type to replace its text. Every choice automatically gets a letter (A, B, C…) that respondents can press on their keyboard to answer faster.
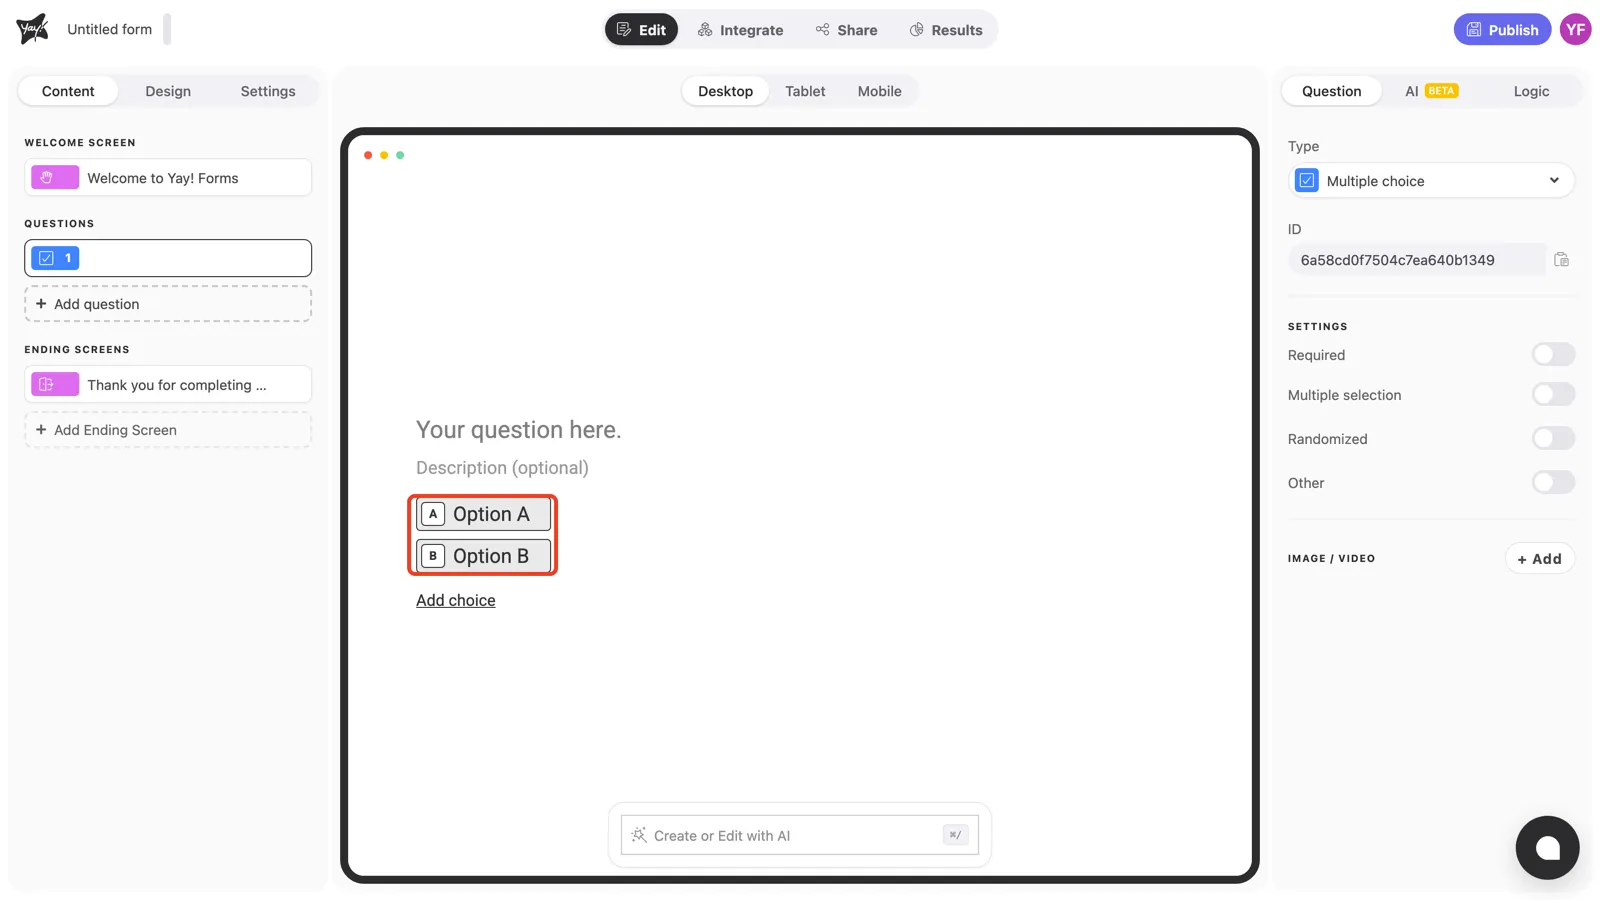
To add more choices, click Add choice below the list.
Question settings
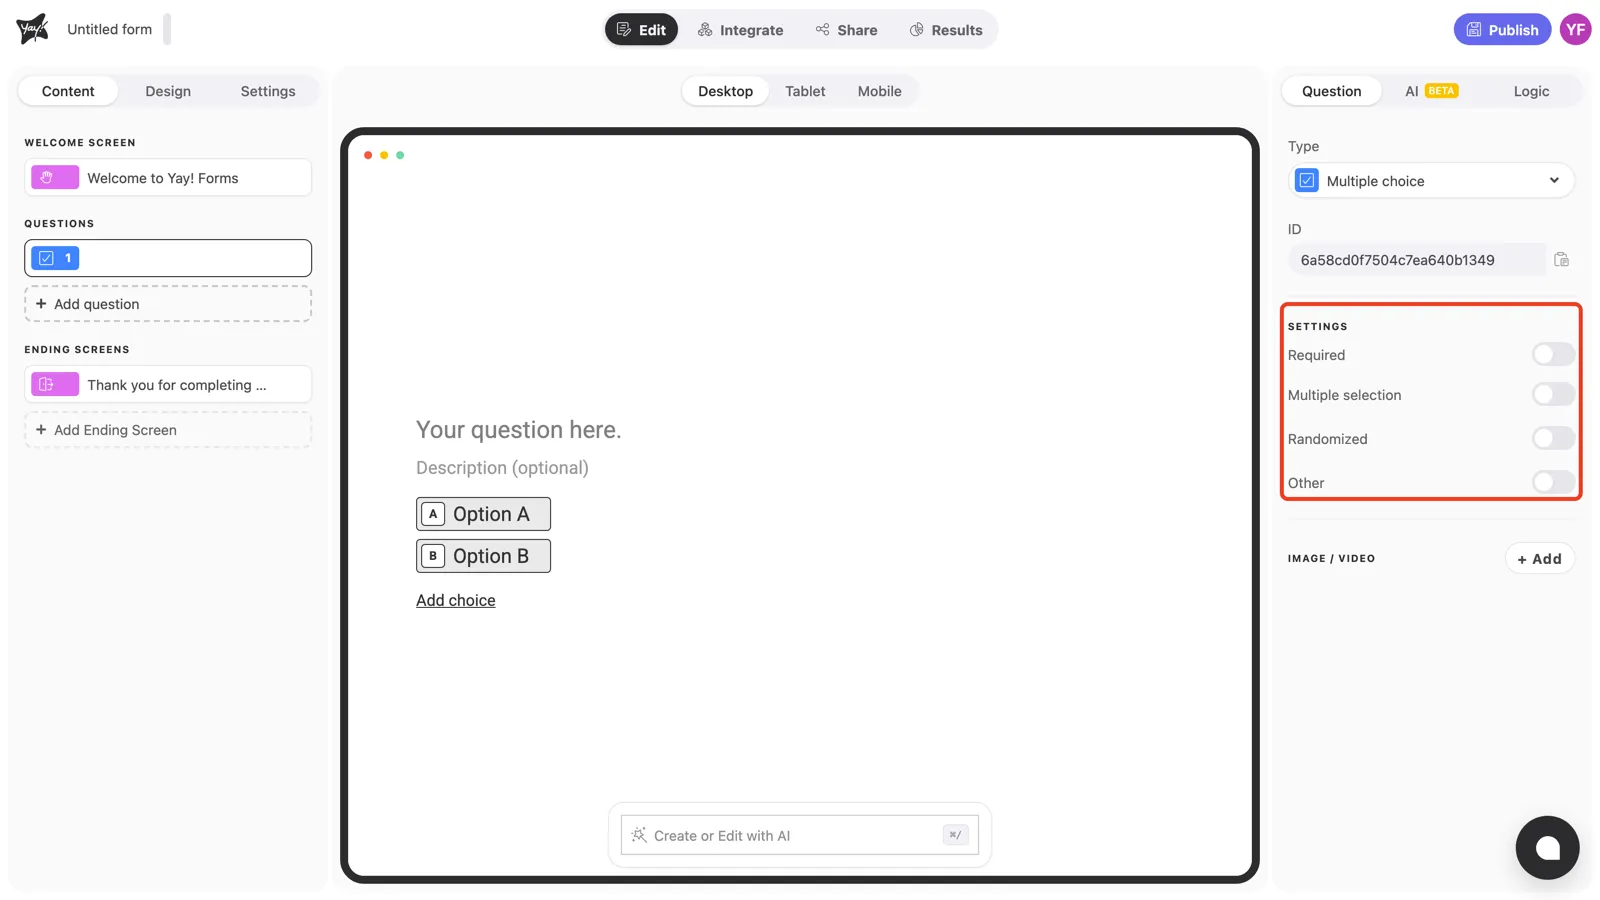
With the question selected, the Settings section in the right panel controls how the question behaves.
Required
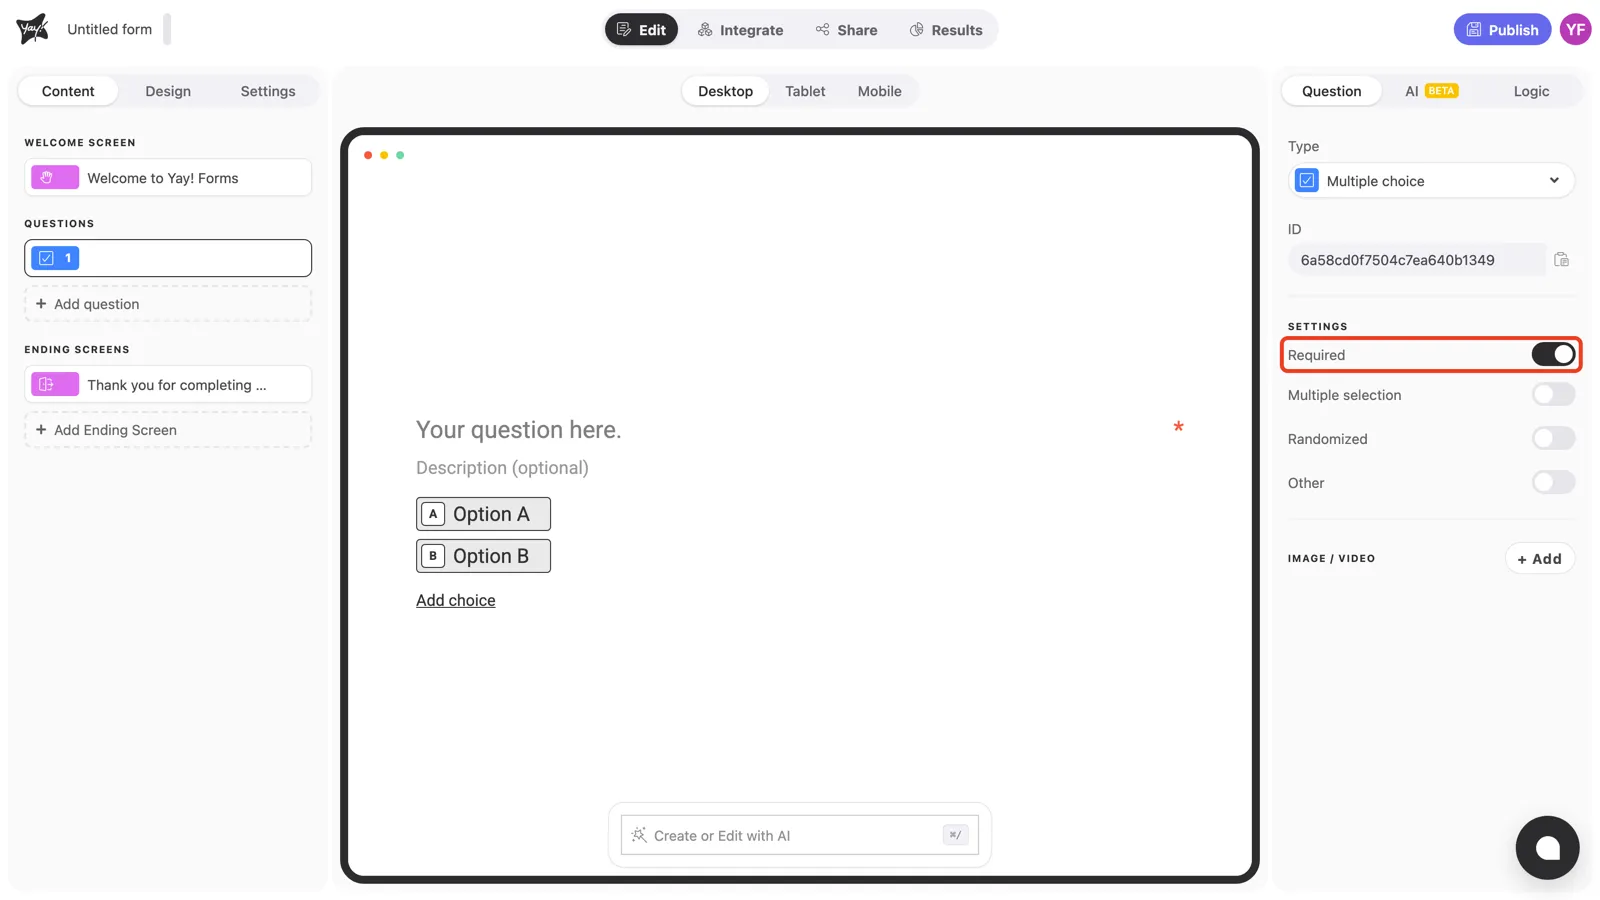
Turn on Required to prevent respondents from skipping the question. An asterisk appears at the end of the question line, and the form won’t advance until an answer is selected.
Multiple selection
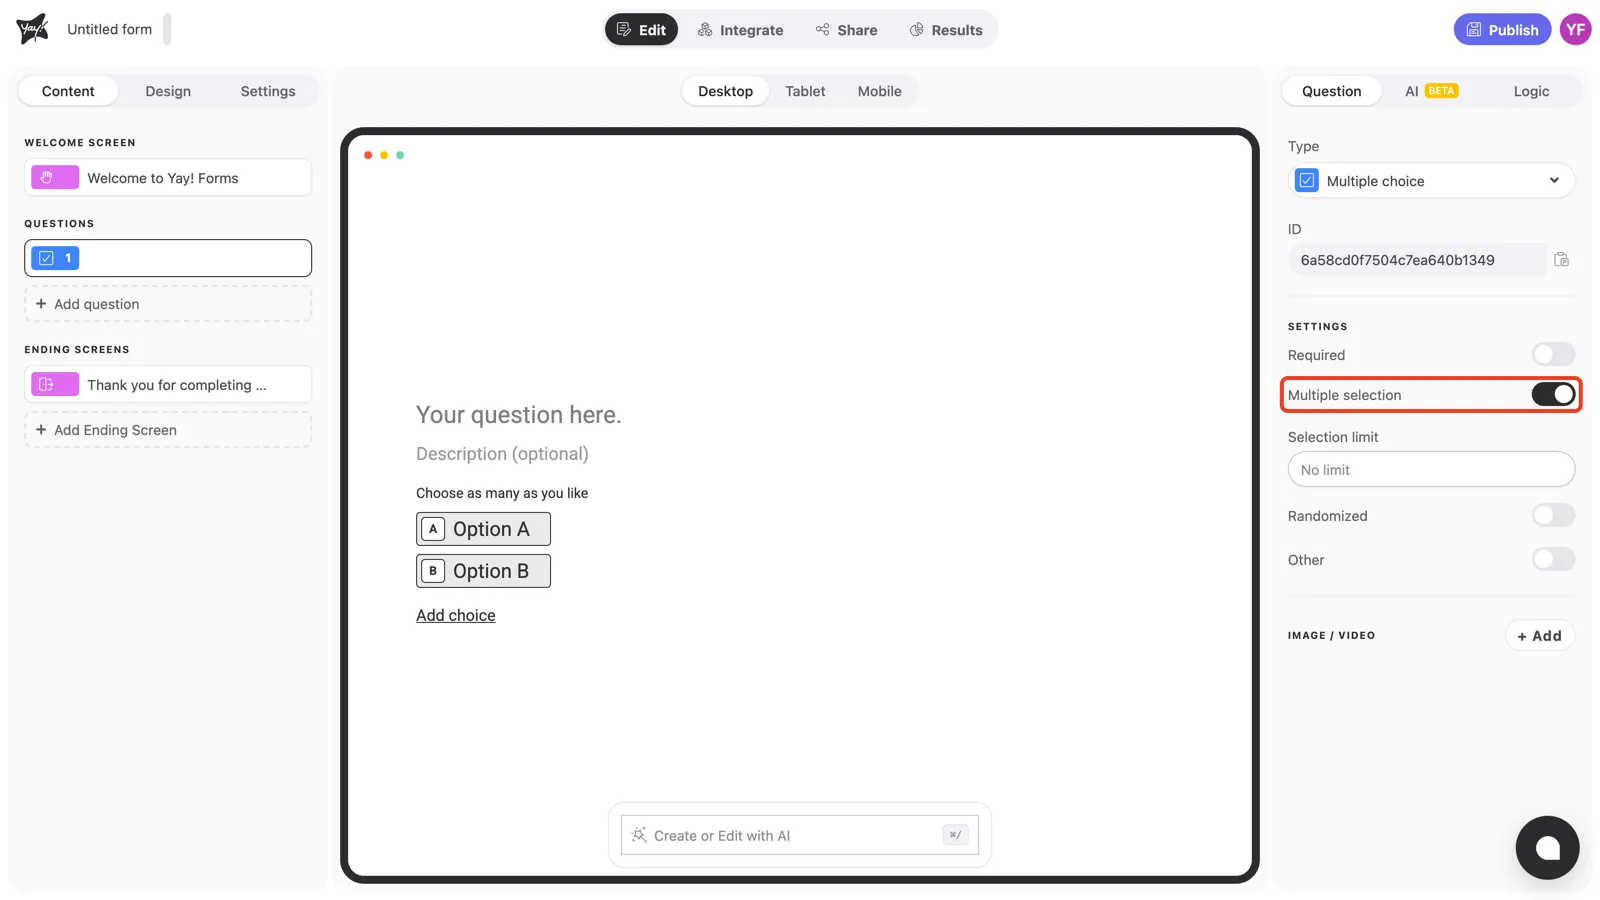
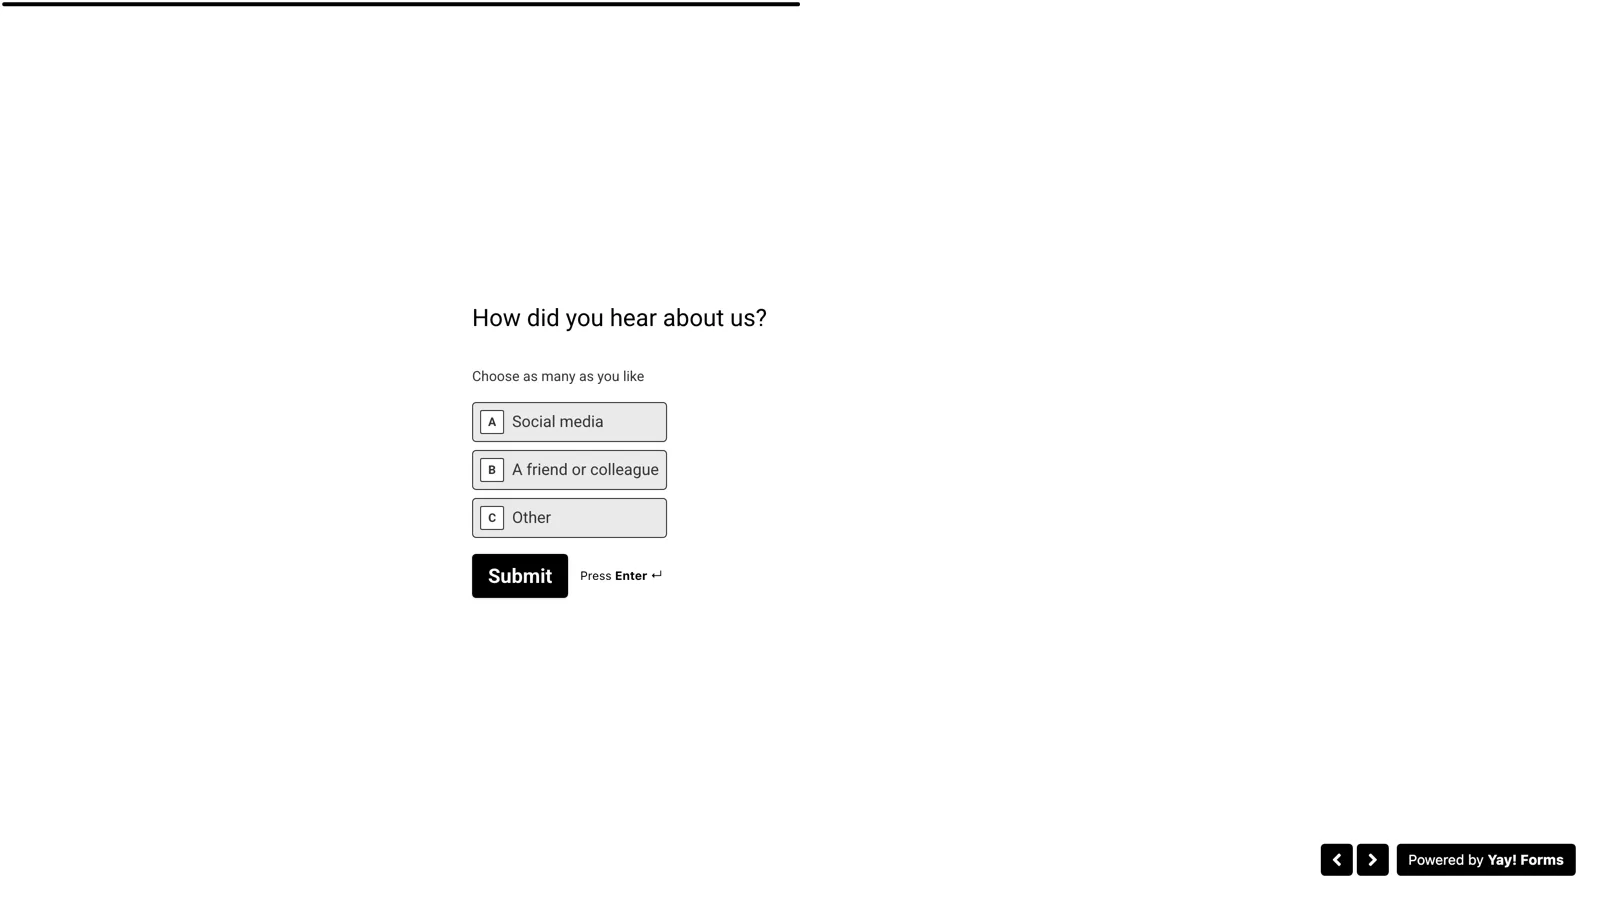
By default, respondents pick exactly one choice. Turn on Multiple selection to let them pick several. The form shows a “Choose as many as you like” hint, and respondents confirm their answer with a button instead of advancing automatically.
When you enable it, a Selection limit field appears below the toggle. Leave it on “No limit”, or set a maximum for questions like “Pick your top 3”.
Randomized
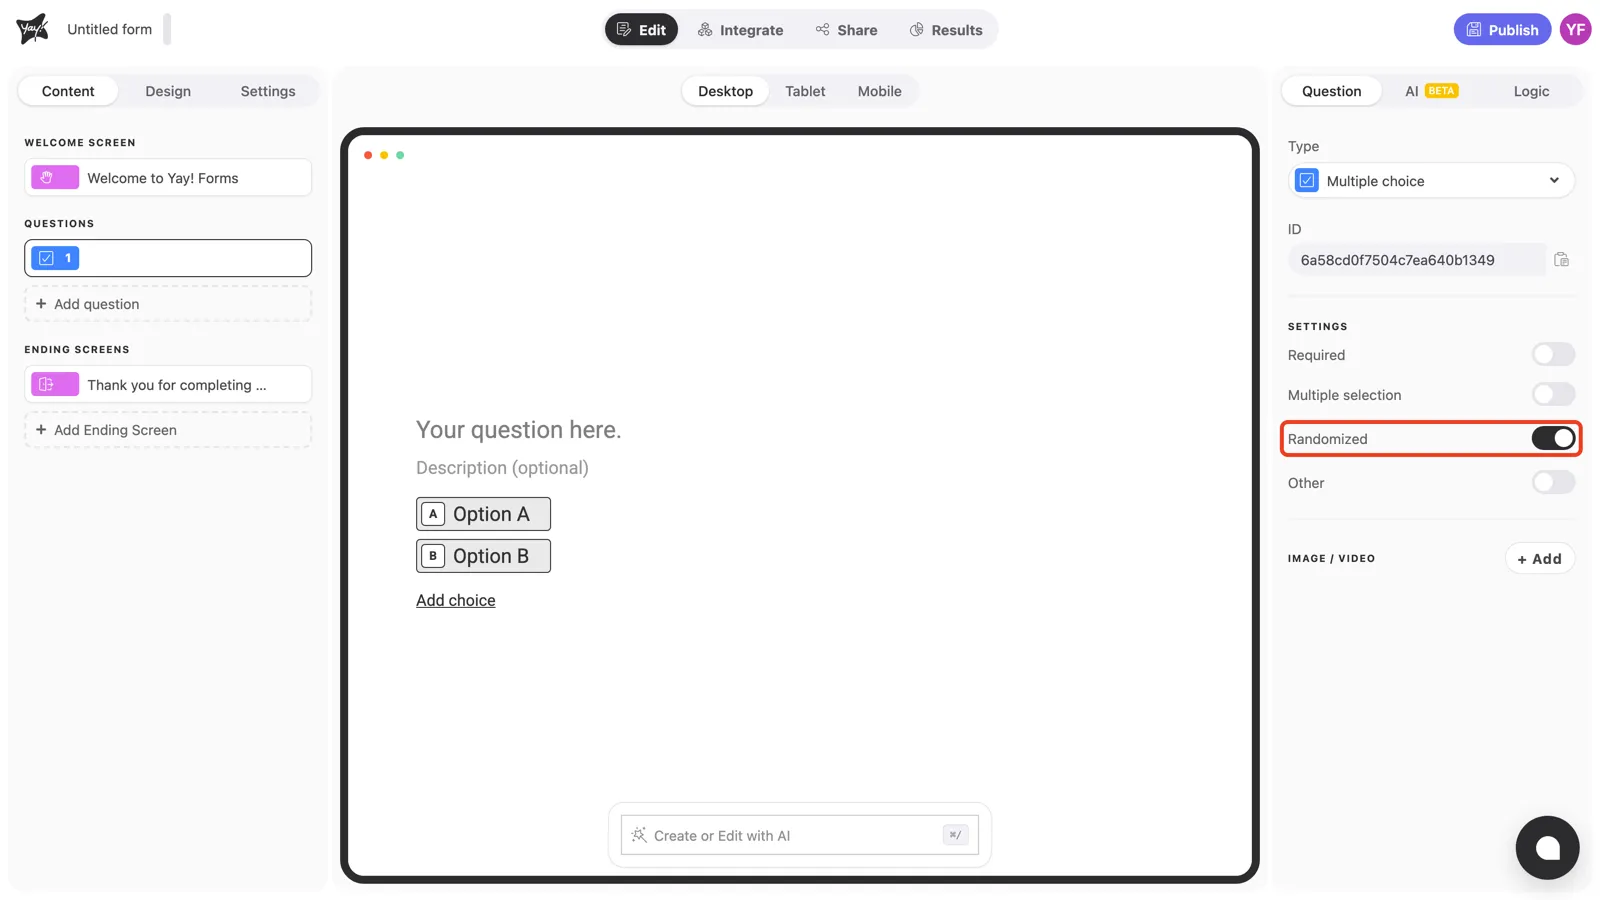
Turn on Randomized to show the choices in a different order for each respondent. This helps reduce order bias in surveys and makes quiz answers harder to share.
Other
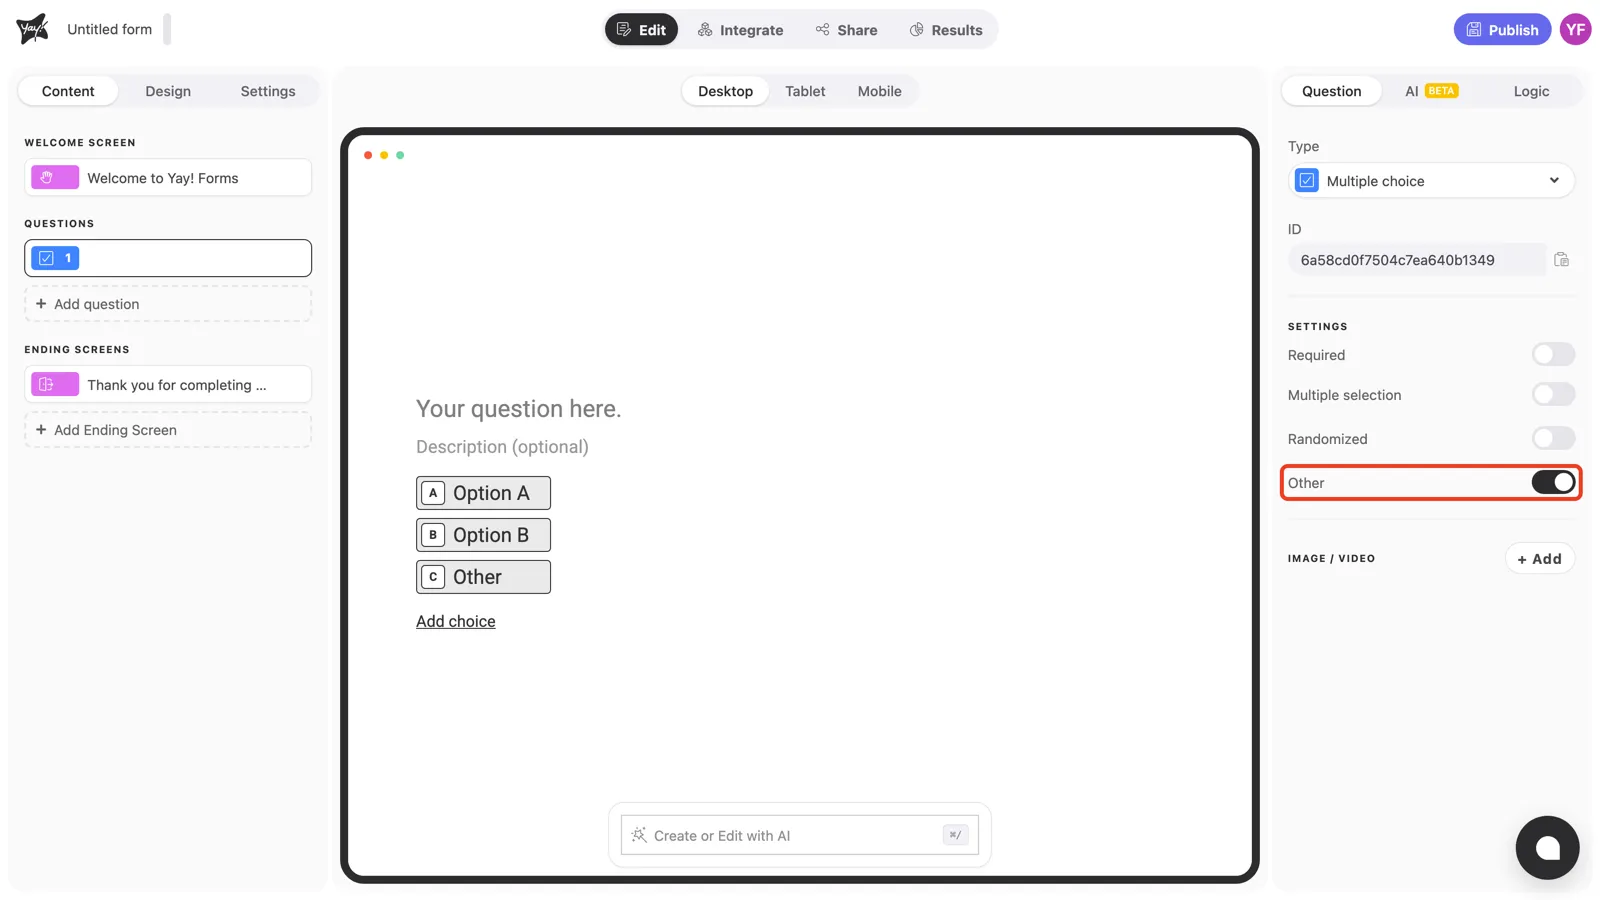
Turn on Other to append an “Other” choice at the end of the list. When a respondent selects it, it turns into a text field where they can type their own answer, so nobody gets stuck when your list doesn’t cover their case.
What your respondents see
On the published form, each choice appears with its letter badge. Respondents can click a choice or press its letter on the keyboard. With a single selection, the form advances to the next question automatically; with Multiple selection on, they confirm their picks with a button.
Change the question type later
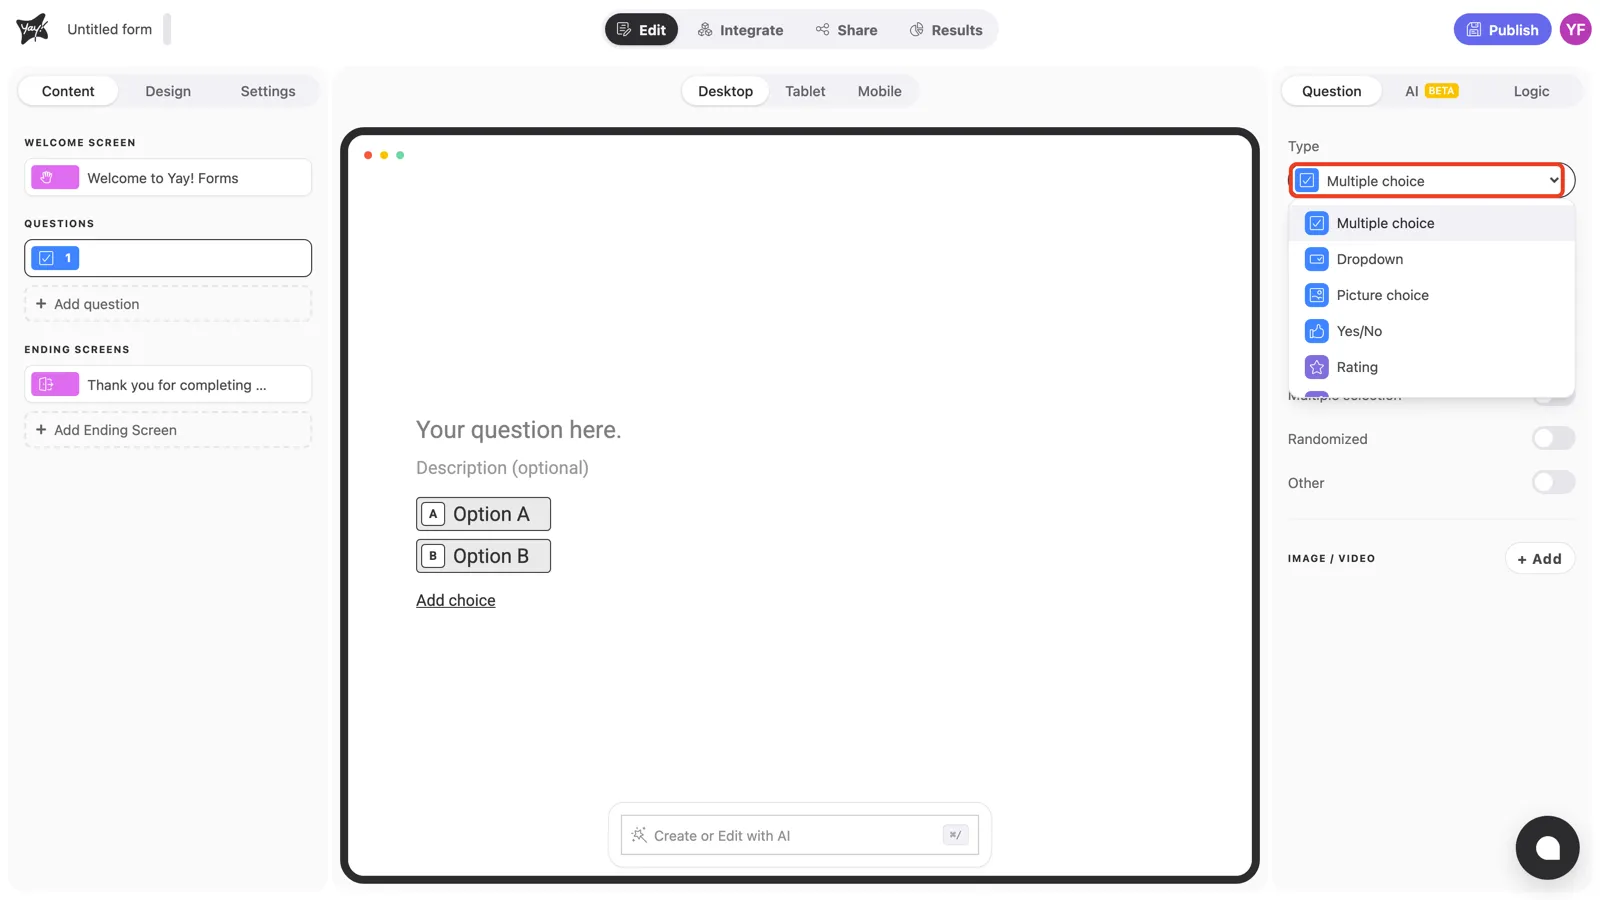
You can convert an existing question at any time: select it and pick a new type from the Type dropdown at the top of the right panel.
Conclusion
You’ve learned how to add a multiple choice question, edit its text and choices, and configure its behavior with the Required, Multiple selection, Randomized, and Other settings.
Related articles: