One thank-you page rarely fits everyone. A quiz should congratulate high scorers and encourage the rest; a qualification form should send good-fit leads to a booking page and everyone else to a newsletter. With multiple ending screens plus logic rules, each respondent lands on the ending made for them.
Add another ending screen
Click + Add Ending Screen at the bottom of the left sidebar, under Ending screens.
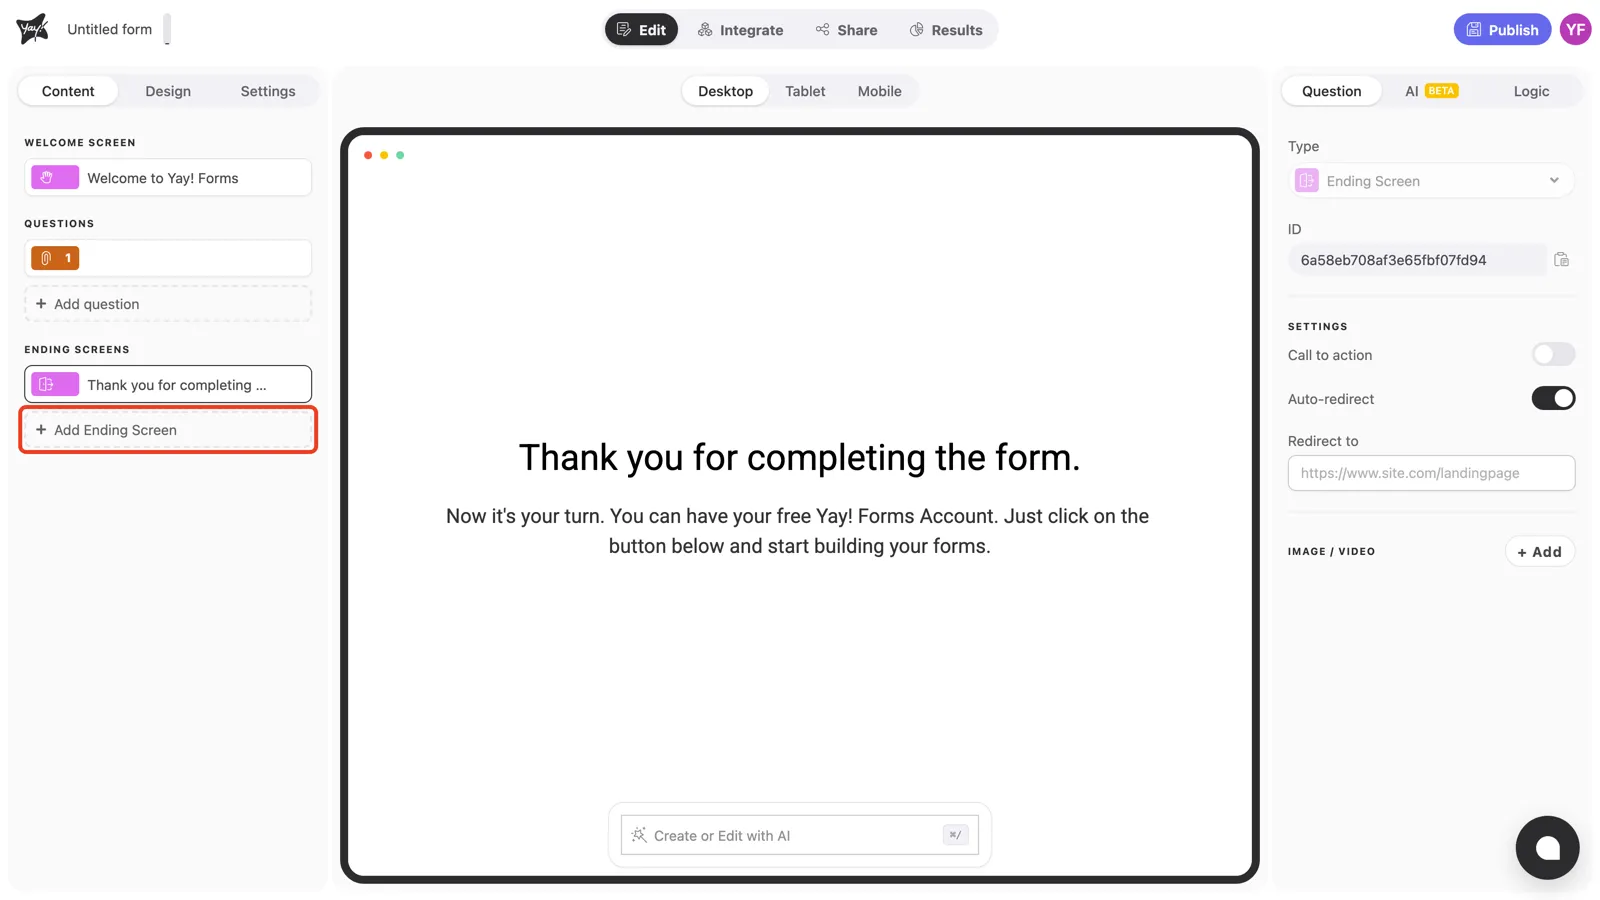
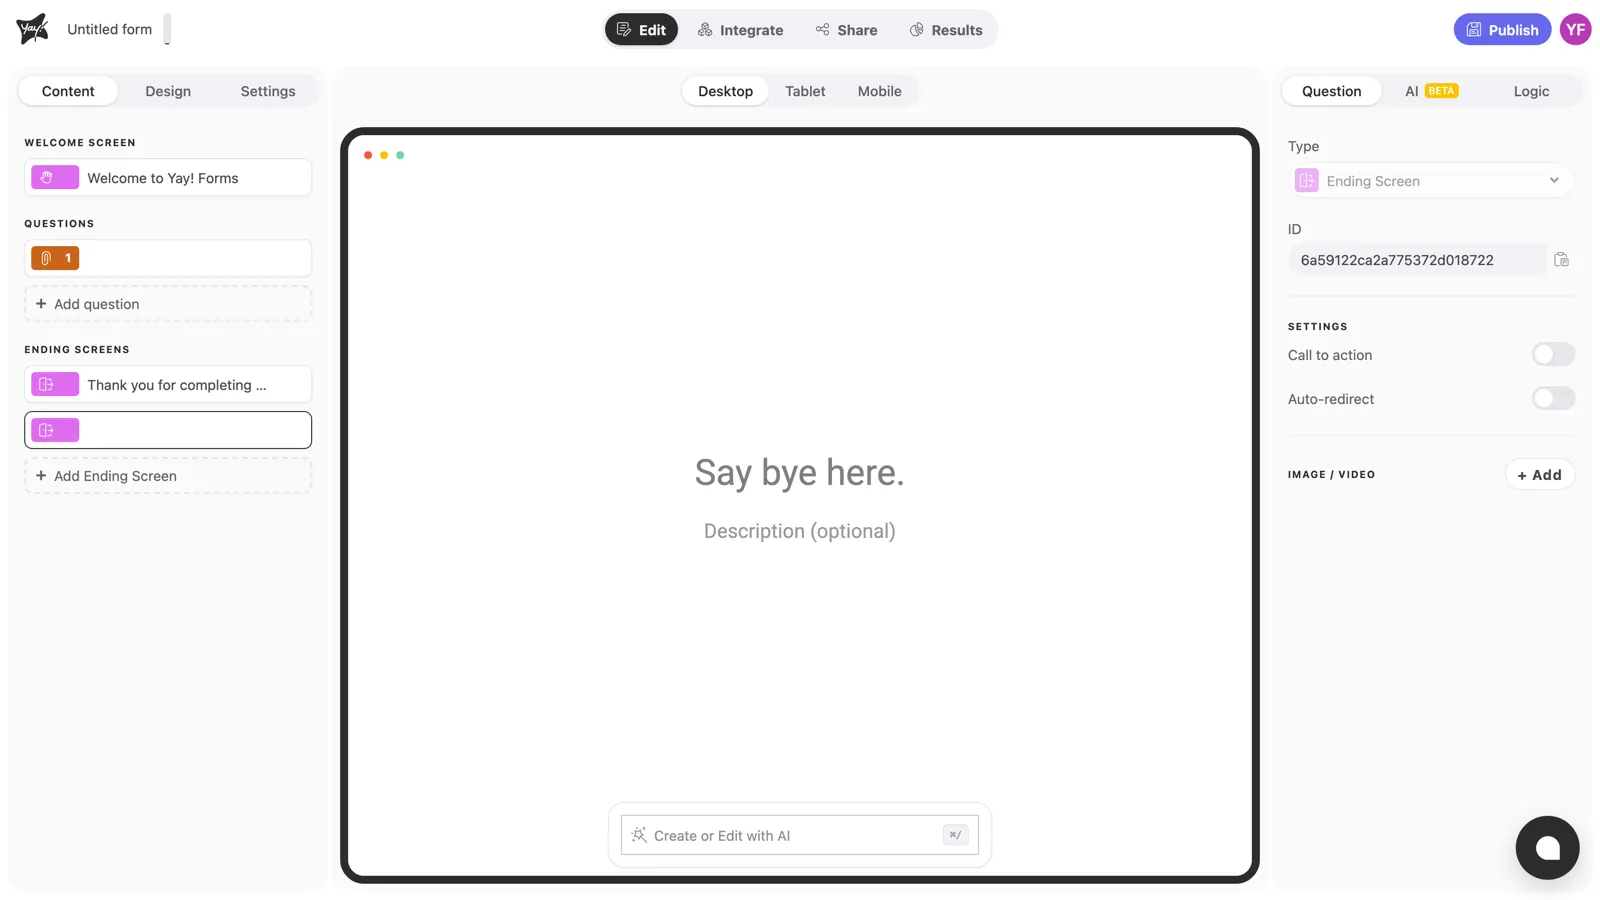
The new ending appears in the sidebar with an empty title (“Say bye here.” in the canvas). Edit its message and call-to-action button just like the default one. Each ending screen has its own text, button, and even its own Auto-redirect.
Route respondents with logic
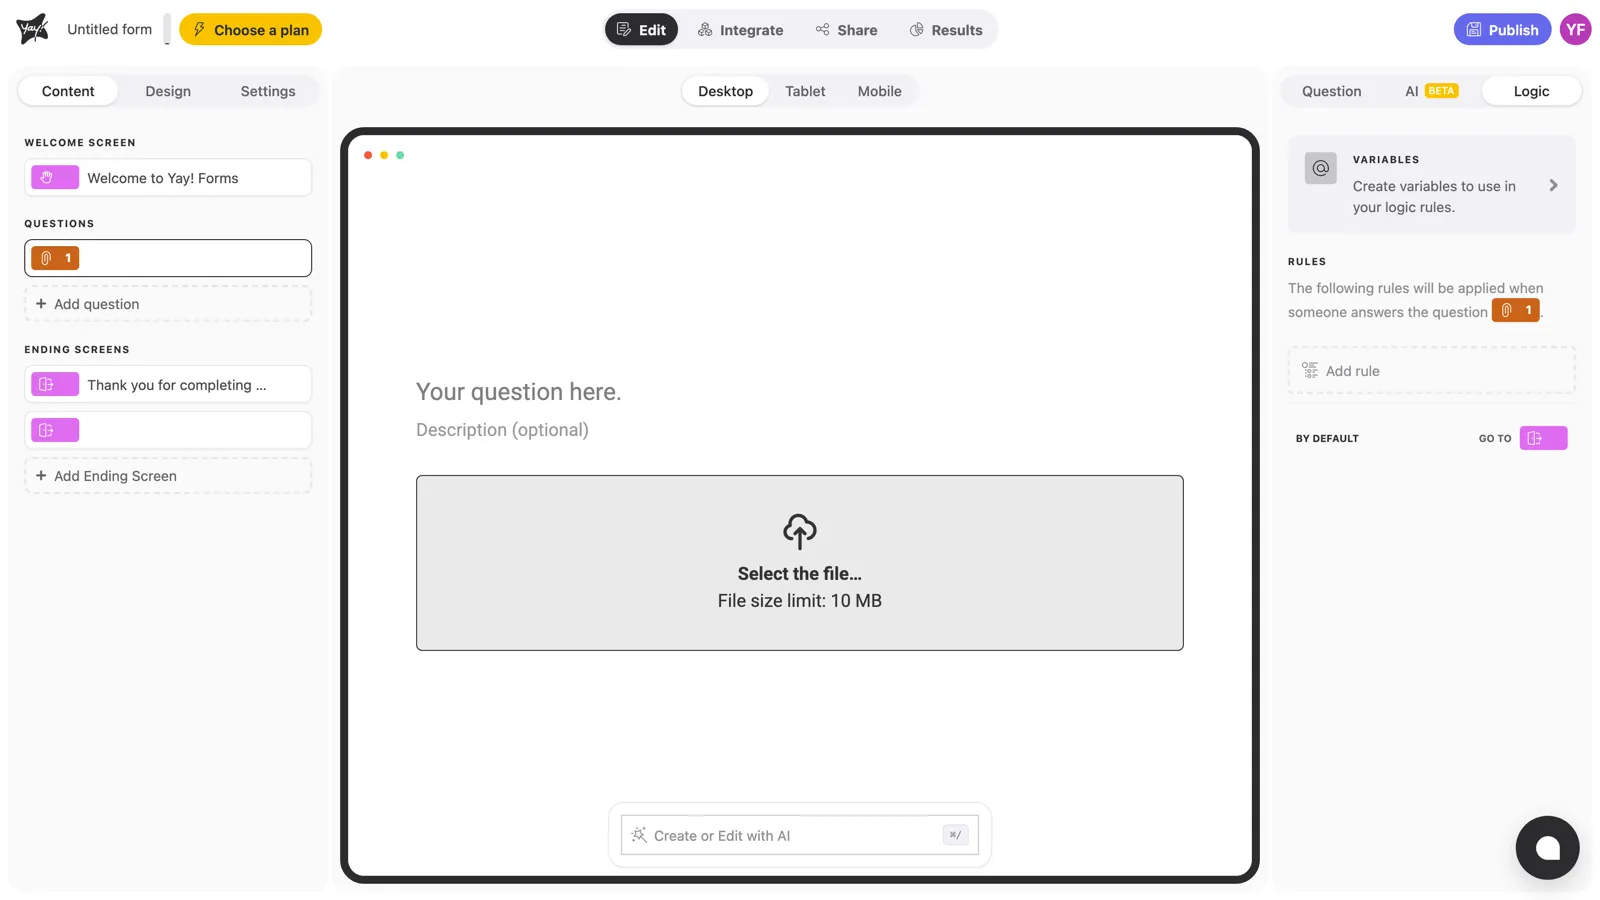
Which ending a respondent sees is decided by logic rules. Select a question, open the Logic tab in the right panel, and add a rule, for example “if the score is above 7, go to the Promoter ending”. The By default / Go to setting at the bottom covers everyone who doesn’t match a rule.
For the full picture of conditions, variables, and scoring, see How to add logic to your form.
Conclusion
You’ve learned how to add extra ending screens and use logic rules to send each respondent to the right one.
Related articles: