A hidden field carries a value of your own into a response without the respondent ever seeing or typing it. You define the field, pass its value in the form URL, and it comes back attached to the submission. It’s how you keep an email, an account ID, or a segment you already have tied to each lead, so your responses arrive enriched instead of anonymous.
When to use hidden fields
- Known contacts: if you already have someone’s email or account ID (from an email link, say), send it in so you don’t ask again.
- Internal identifiers: a contact ID, a deal ID, a partner code, an A/B test variant.
- Segmentation: a plan name or persona you want stored with the response and available to your logic and integrations.
Add a hidden field
Open the form and go to the Share tab.
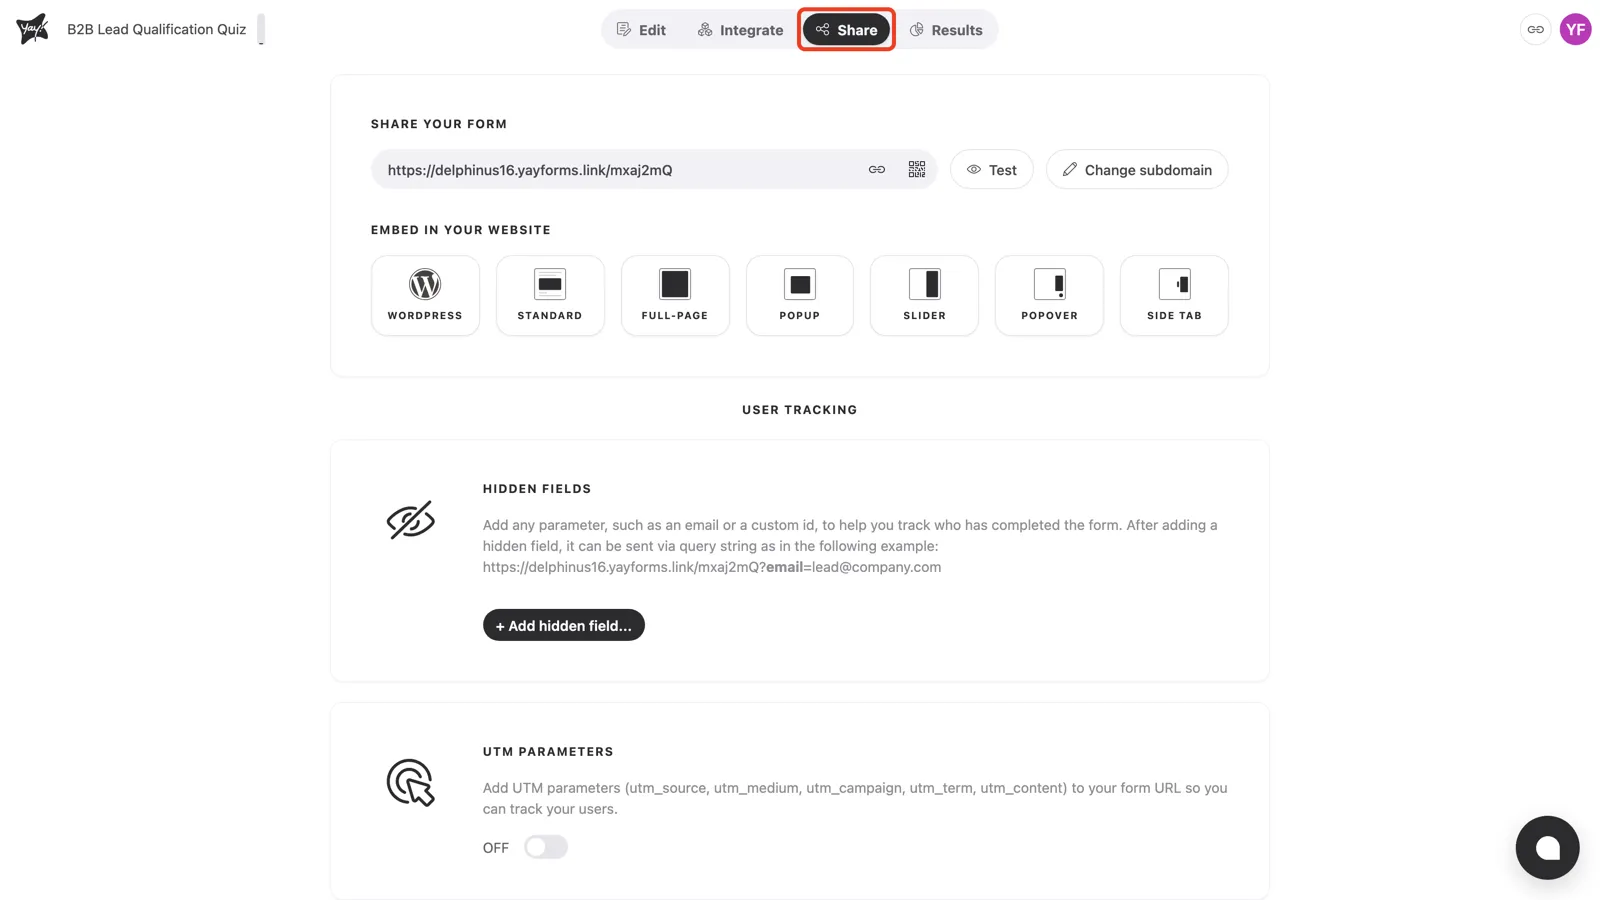
Scroll down to Hidden fields and click + Add hidden field.
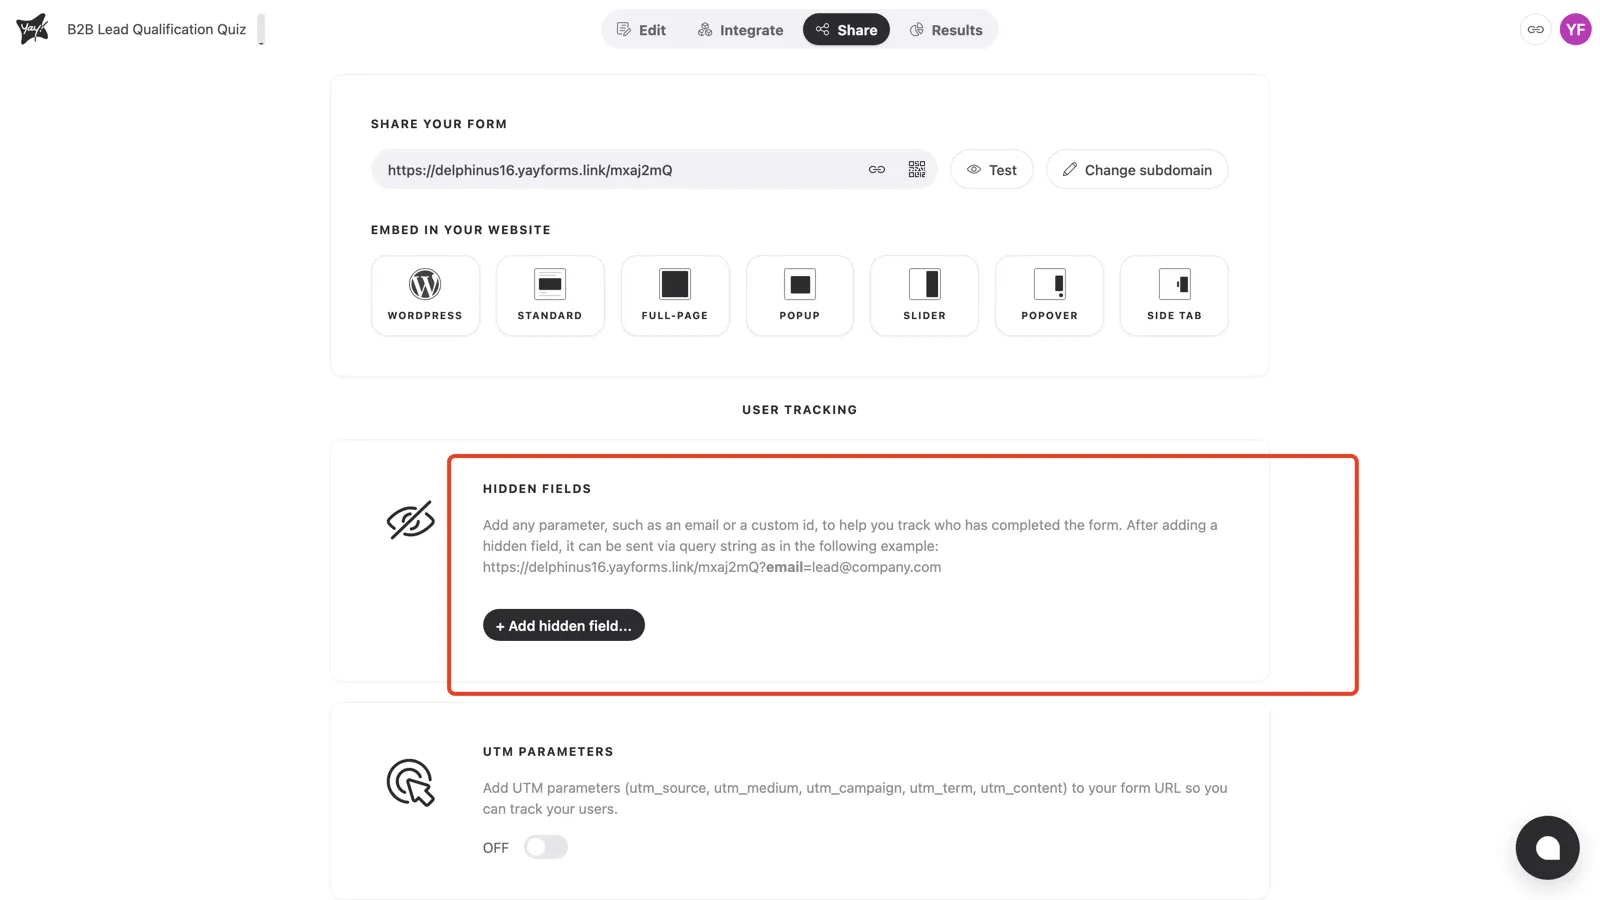
Type a name for the field and click Save. The name is the key you’ll use in the URL, so keep it simple and lowercase (for example email or contact_id). Add as many as you need.
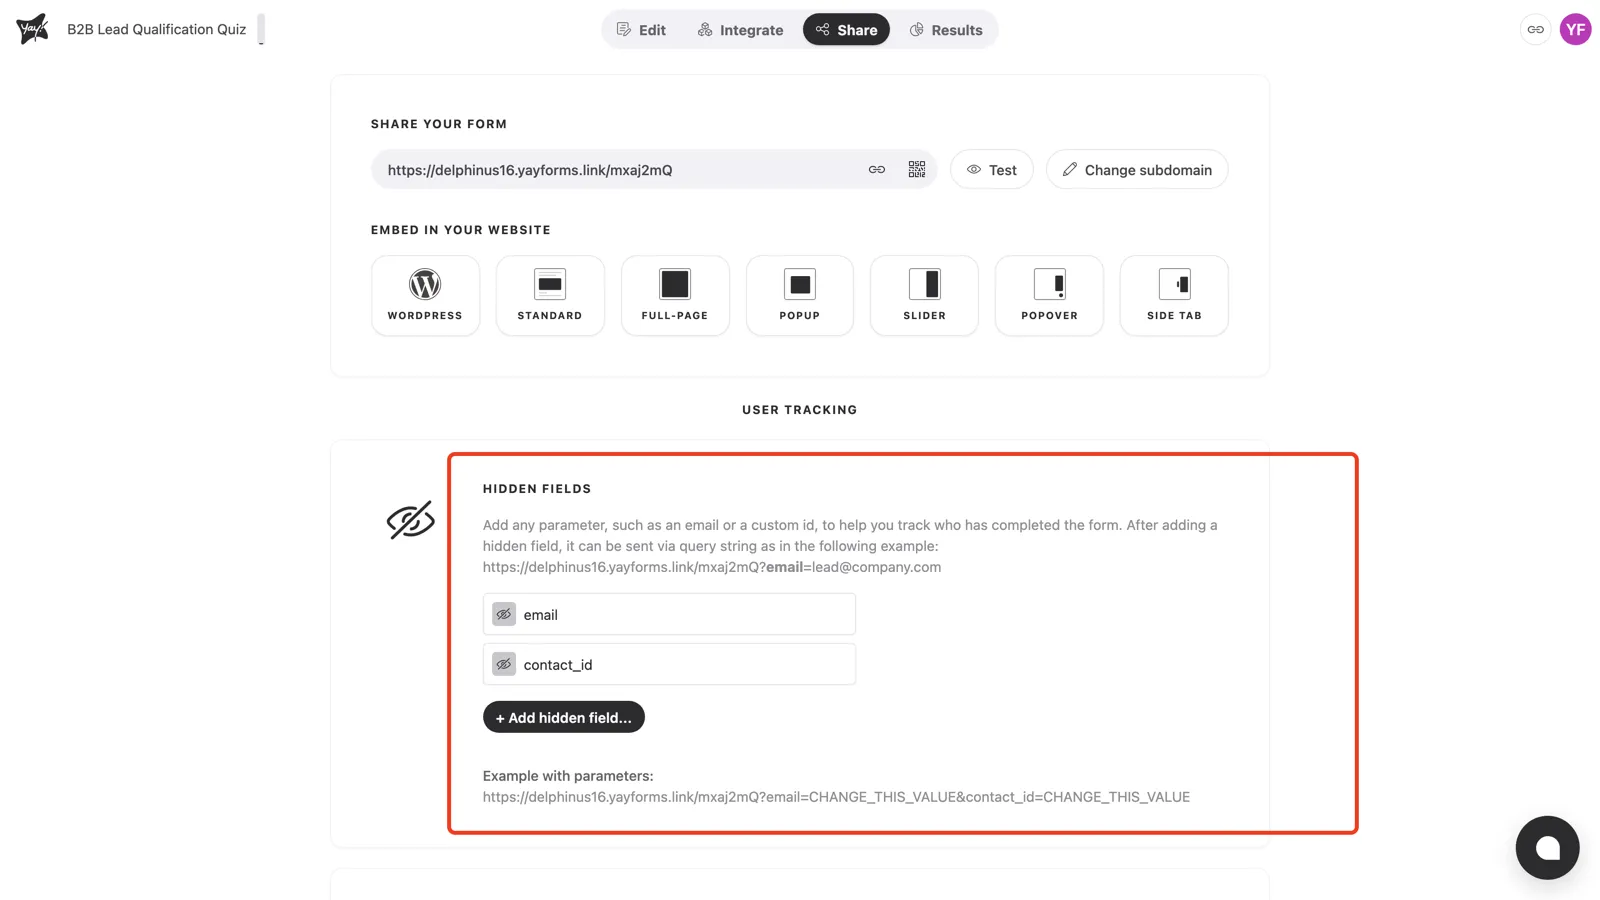
Pass values in the URL
Once a field exists, append it to the form URL as a query-string parameter. The Share tab shows the exact pattern for your form. For a field named email:
https://yourname.yayforms.link/xxxxx?email=lead@company.comChain several with &:
https://yourname.yayforms.link/xxxxx?email=lead@company.com&contact_id=8842Each value lands in the matching hidden field and shows up with the response in your results.
Conclusion
You’ve learned what hidden fields are, when to use them, how to add them on the Share tab, and how to pass their values through the form URL to enrich each response.
Related articles: