A mention is a placeholder you insert by typing @. In the editor it appears as a chip; when a respondent fills the form, the chip is replaced with their own data. Use mentions to greet people by name, carry an earlier answer into a later screen, or pass answers along in a redirect URL.
Where mentions work
Mentions work anywhere the @ menu appears:
- Question titles and descriptions
- Ending screen titles and descriptions
- URL fields on ending screens: Redirect to (with Auto-redirect on) and Button link
The examples below use a form called Welcome Survey. Its first question asks “What is your name?”, and the following screens reuse that answer.
Insert a mention with @
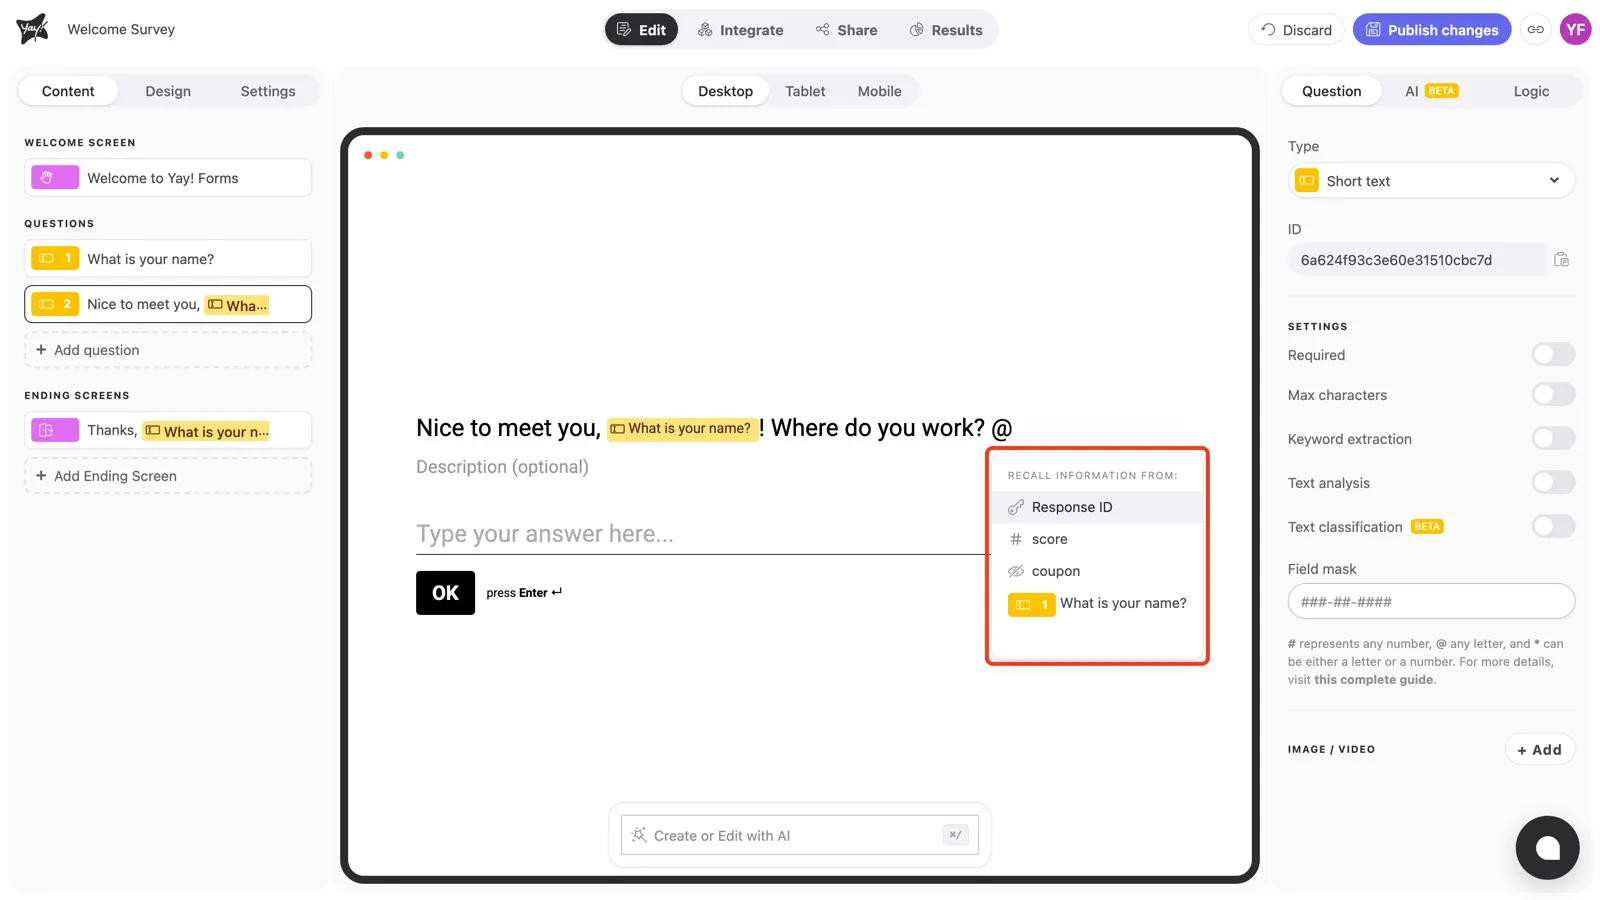
Click into a title or description and type @. A menu opens under the header Recall information from:, listing everything you can insert:
- Answers to previous questions (only questions before the current one appear)
- Response ID, a unique identifier for each submission
- Variables, such as the quiz score
- Hidden fields and UTM parameters, when they’re set up in the form’s Share tab (in the example, the hidden field
coupon)
The mention becomes a chip
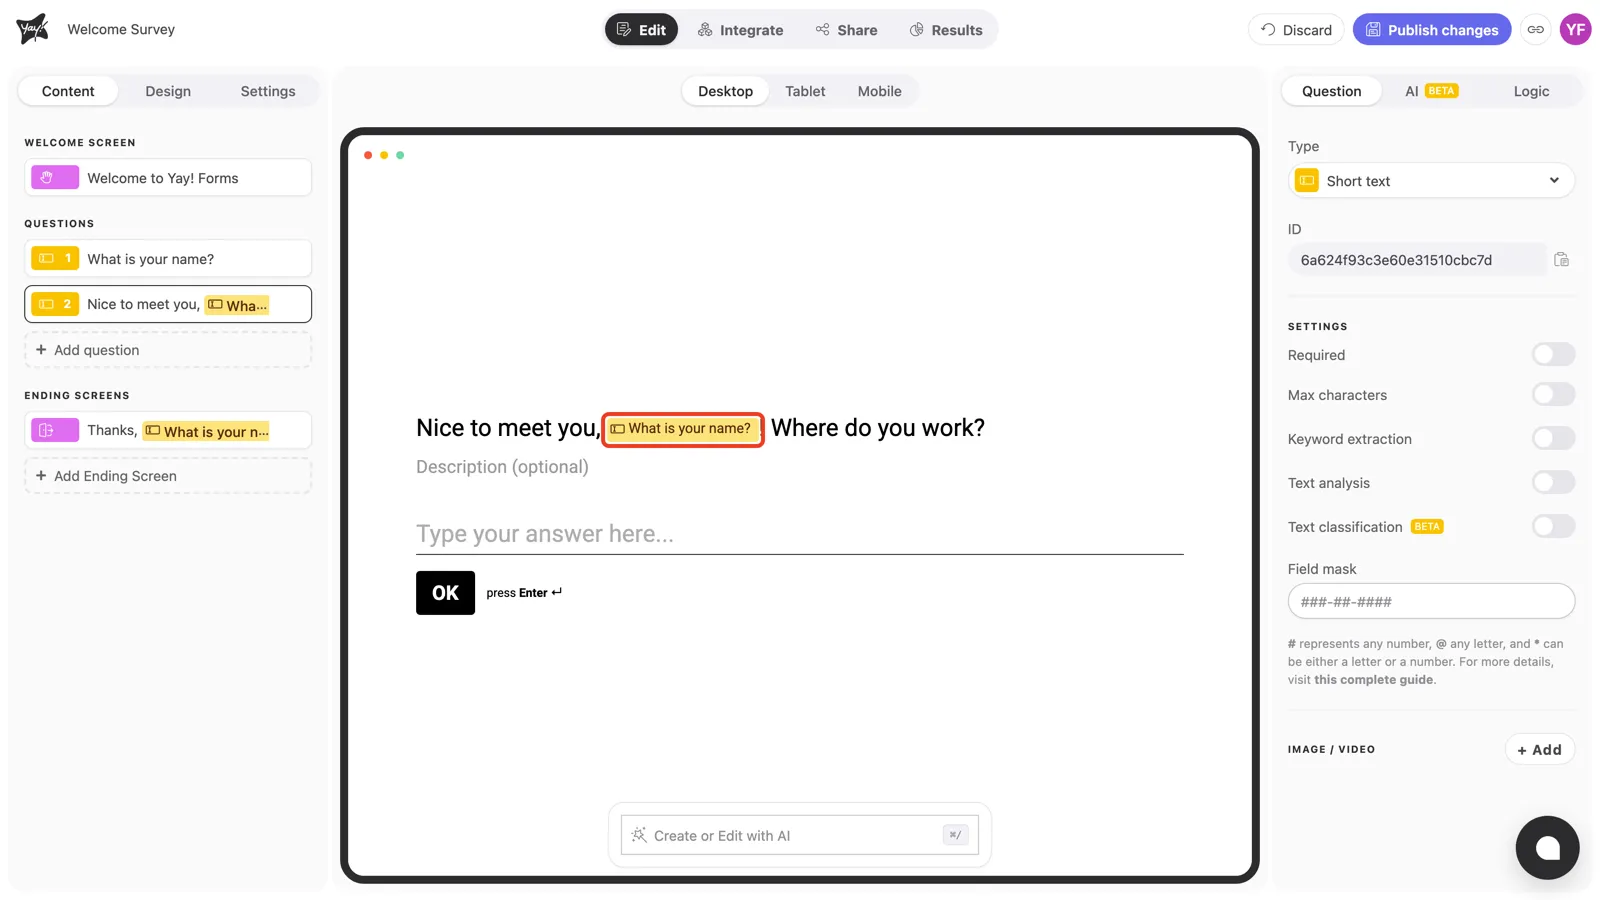
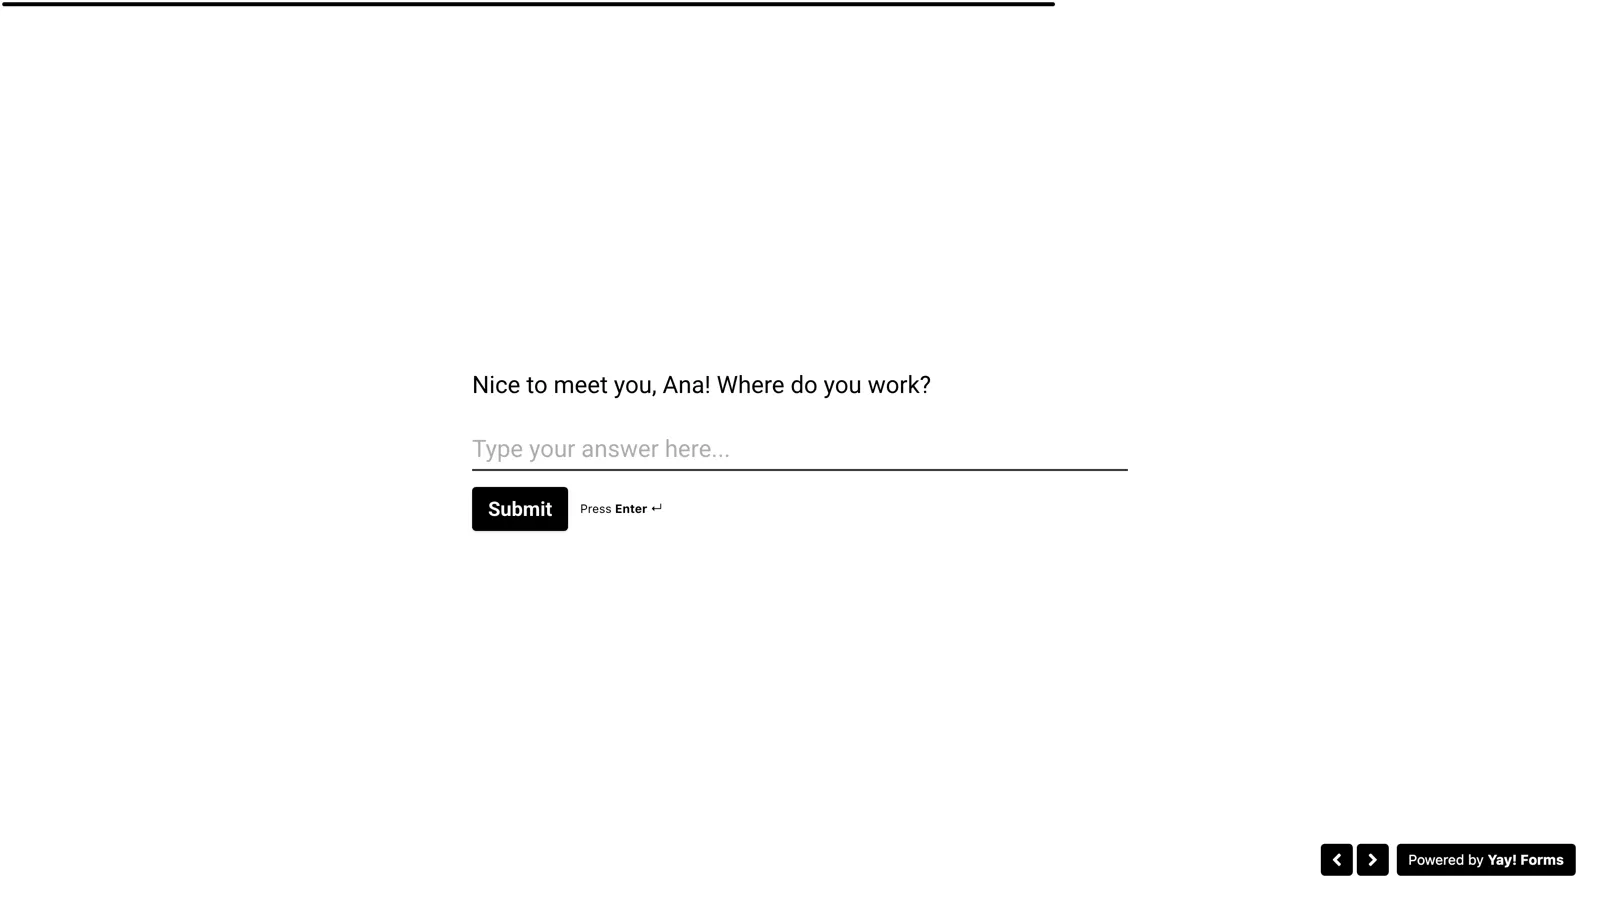
Pick an item and it lands in the text as a chip showing the name of what it references. In the example, the second question’s title reads “Nice to meet you, [What is your name?]! Where do you work?”. Respondents never see the chip itself, only the value it resolves to.
Mentions on ending screens
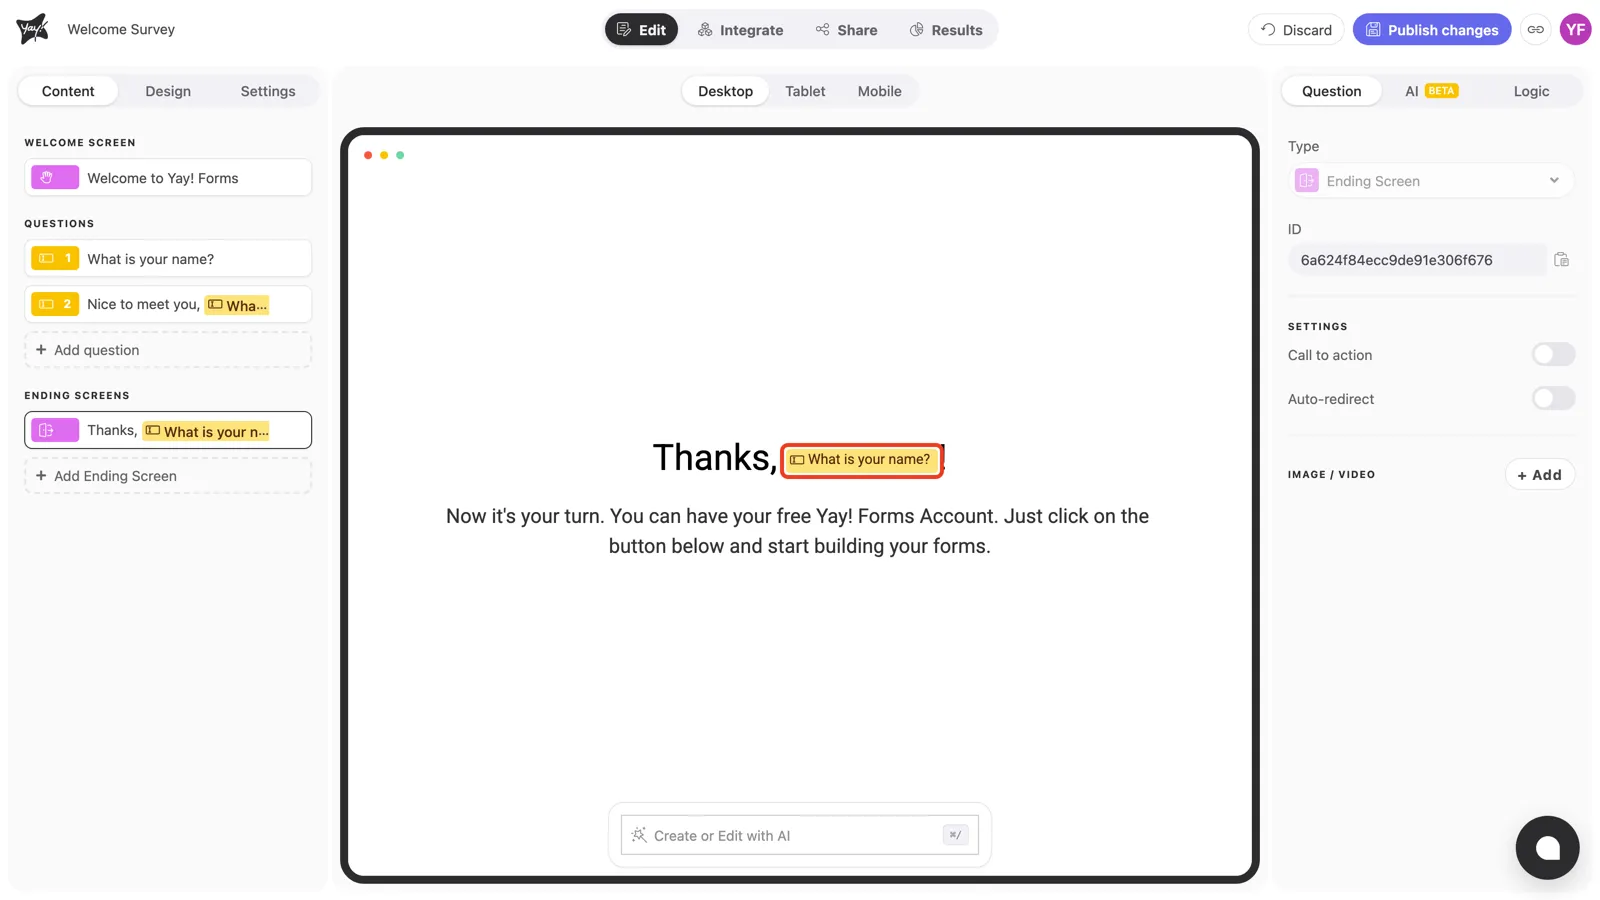
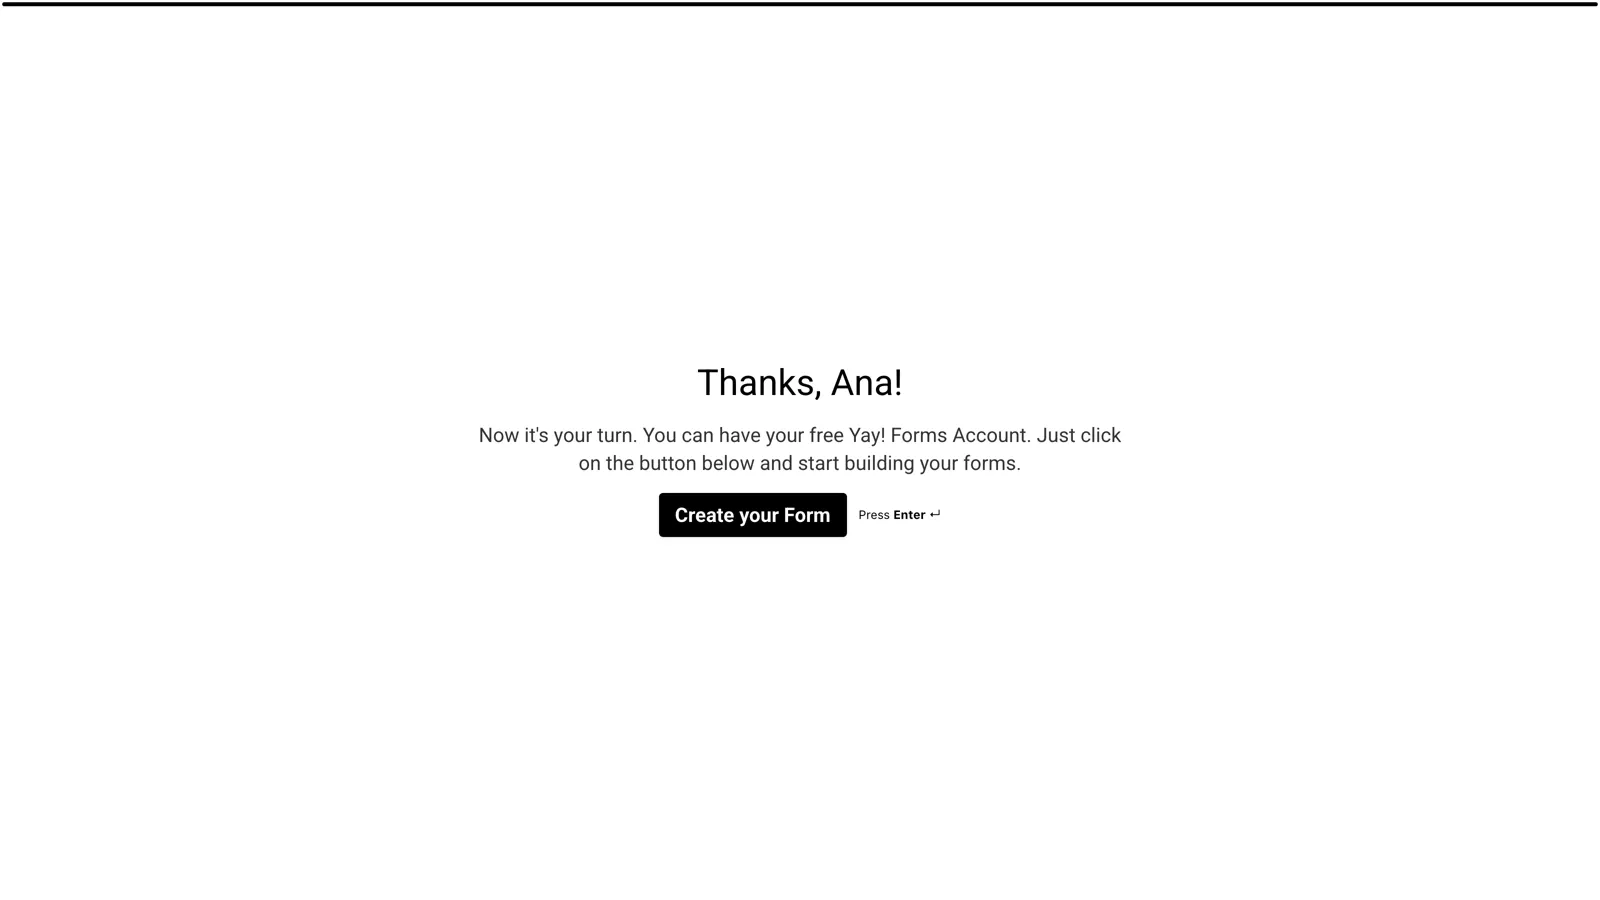
Ending screens accept mentions in their title and description the same way. The example ending says “Thanks, [What is your name?]!”, so every respondent gets a goodbye with their own name.
Mentions in URL fields
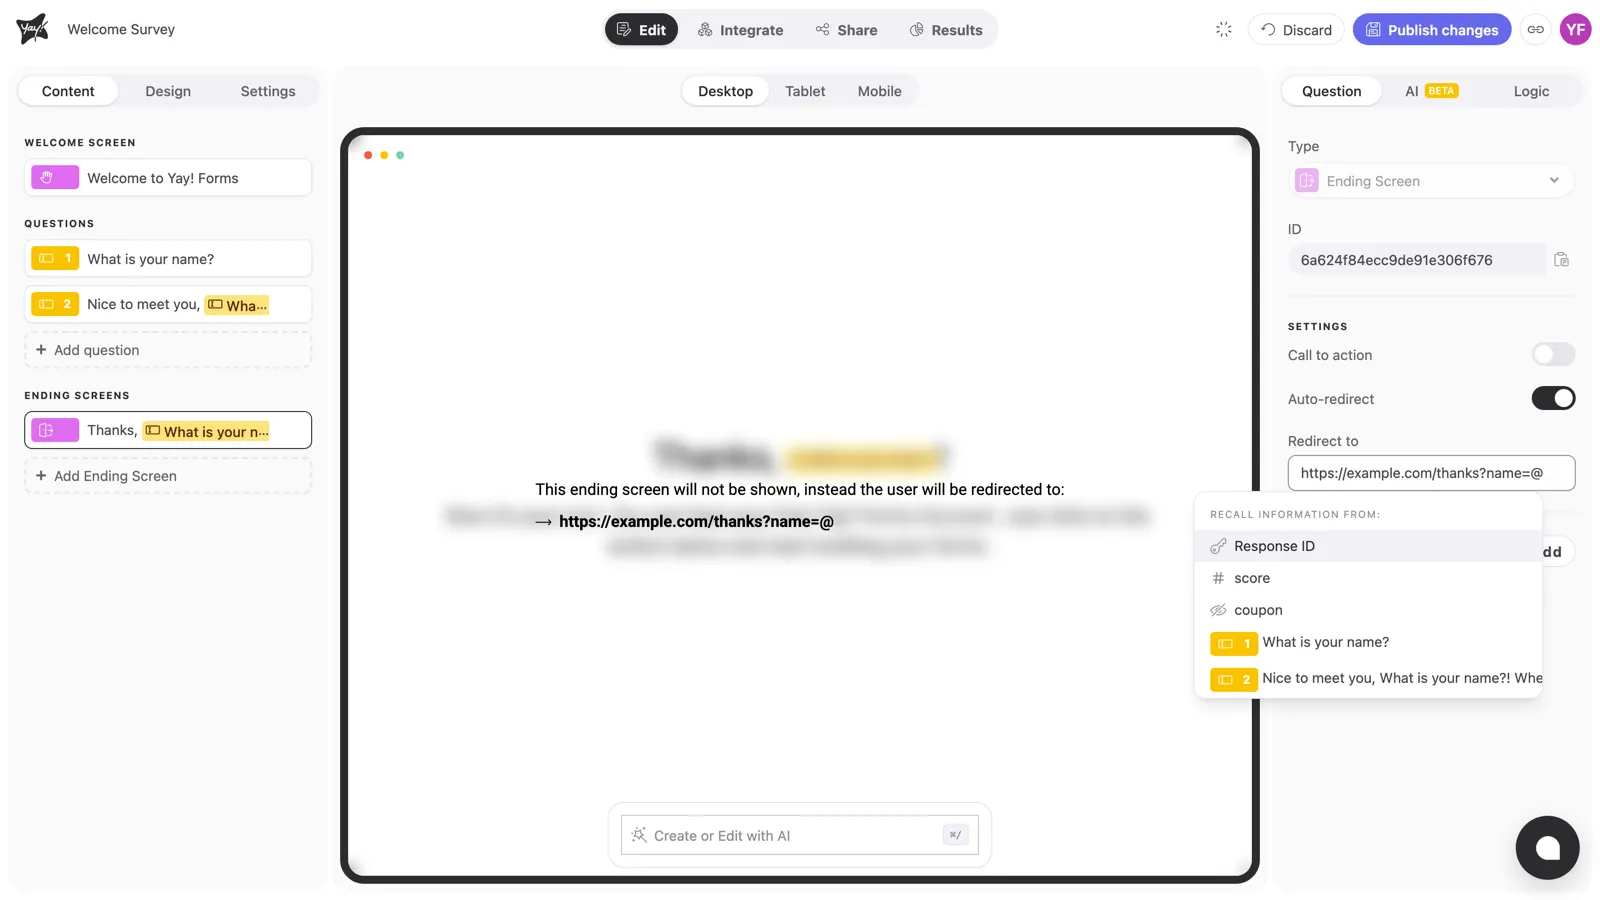
On an ending screen, the Redirect to field (shown when Auto-redirect is on) and the Button link field accept mentions too. Type @ inside the URL at the point where the value should go, usually as a query parameter. In the example, typing https://example.com/thanks?name=@ opens the menu; picking “What is your name?” completes the URL, and each respondent is redirected with their own answer in the query string. See How to use Auto-redirect on final screens.
What the respondent sees
In the published form, every mention resolves to that respondent’s own data. Someone who answers “Ana” to the first question sees the next one greet her by name:
The ending screen resolves the same way:
Hidden fields and UTM parameters
Hidden fields and UTM parameters only show up in the mention menu after you set them up in the form’s Share tab. A hidden field such as coupon arrives through the form’s URL and can then be mentioned in any of the places above; the same goes for the UTM parameters of the campaign that brought the respondent in. See How to add hidden fields in Yay! Forms and How to add UTM parameters with Yay! Forms.
Conclusion
You’ve learned how to insert mentions by typing @ in titles, descriptions, ending screens, and URL fields, which sources the menu offers, and how each chip resolves to the respondent’s own value in the published form.
Related articles: