With AI titles and descriptions, you can let AI write the title and/or description of a question or ending screen. Instead of one fixed text for everyone, the content is generated for each respondent at the moment they reach the screen, using a prompt you write that can reference their previous answers.
What you can build with this feature
AI titles and descriptions shine whenever you want the form to feel like a one-to-one conversation. A few real use cases:
- Personalized satisfaction survey: after someone rates their experience, the next question’s wording adapts to that rating, asking a happy customer what they loved and an unhappy one what went wrong.
- Post-event feedback: the follow-up question references the exact session or speaker the respondent chose earlier, so it never feels generic.
- Lead qualification: the next question adjusts to the company segment or role the lead just selected.
- Quiz with an AI-generated result: the ending screen presents a personalized result built from everything the respondent answered. This is the example we’ll build below.
Worked example: a productivity-profile quiz
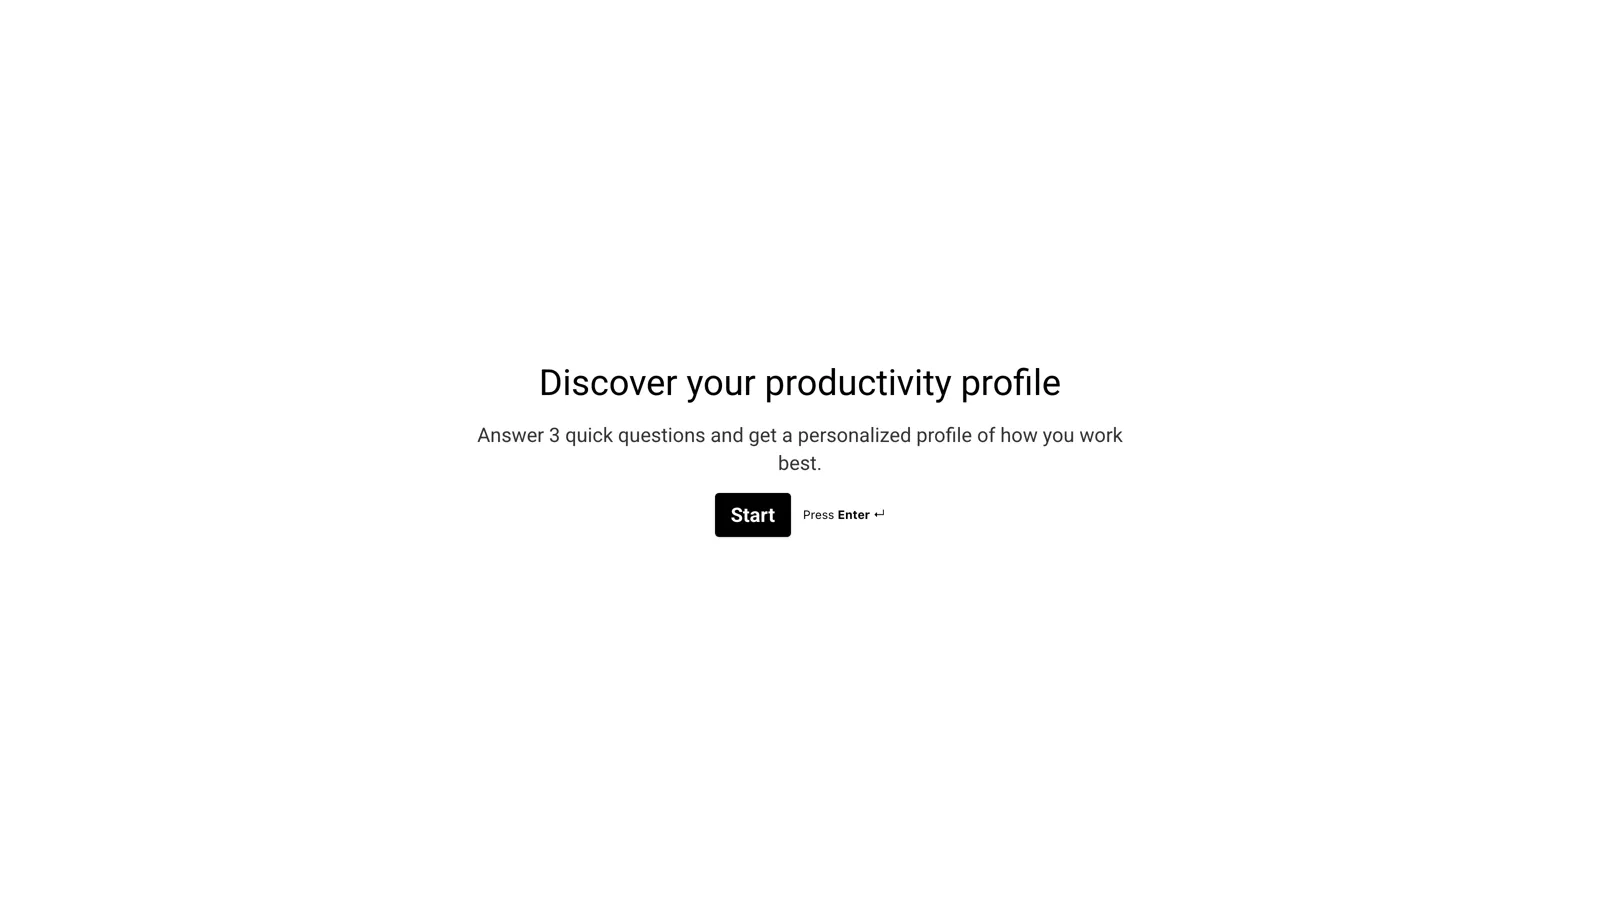
To show the feature end to end, we built a short quiz called “Discover your productivity profile”. It has a static welcome screen, three multiple-choice questions (“How do you plan your day?”, “When do you do your best work?”, and “How do you handle distractions?”), and an ending screen titled “Here is your productivity profile” whose title and description are both generated by AI.
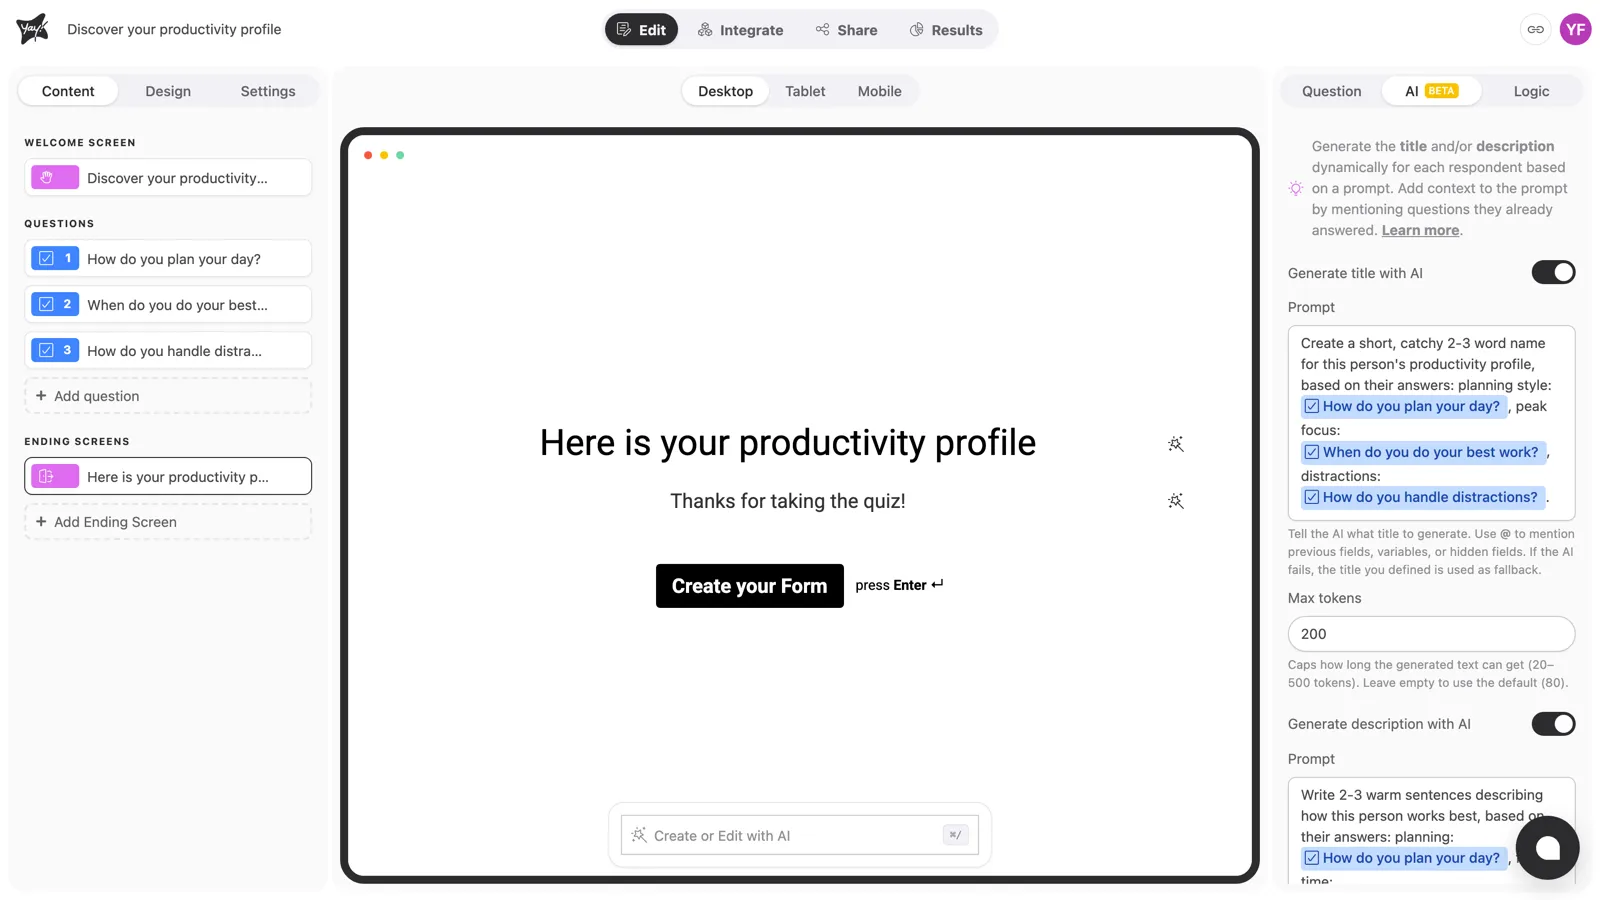
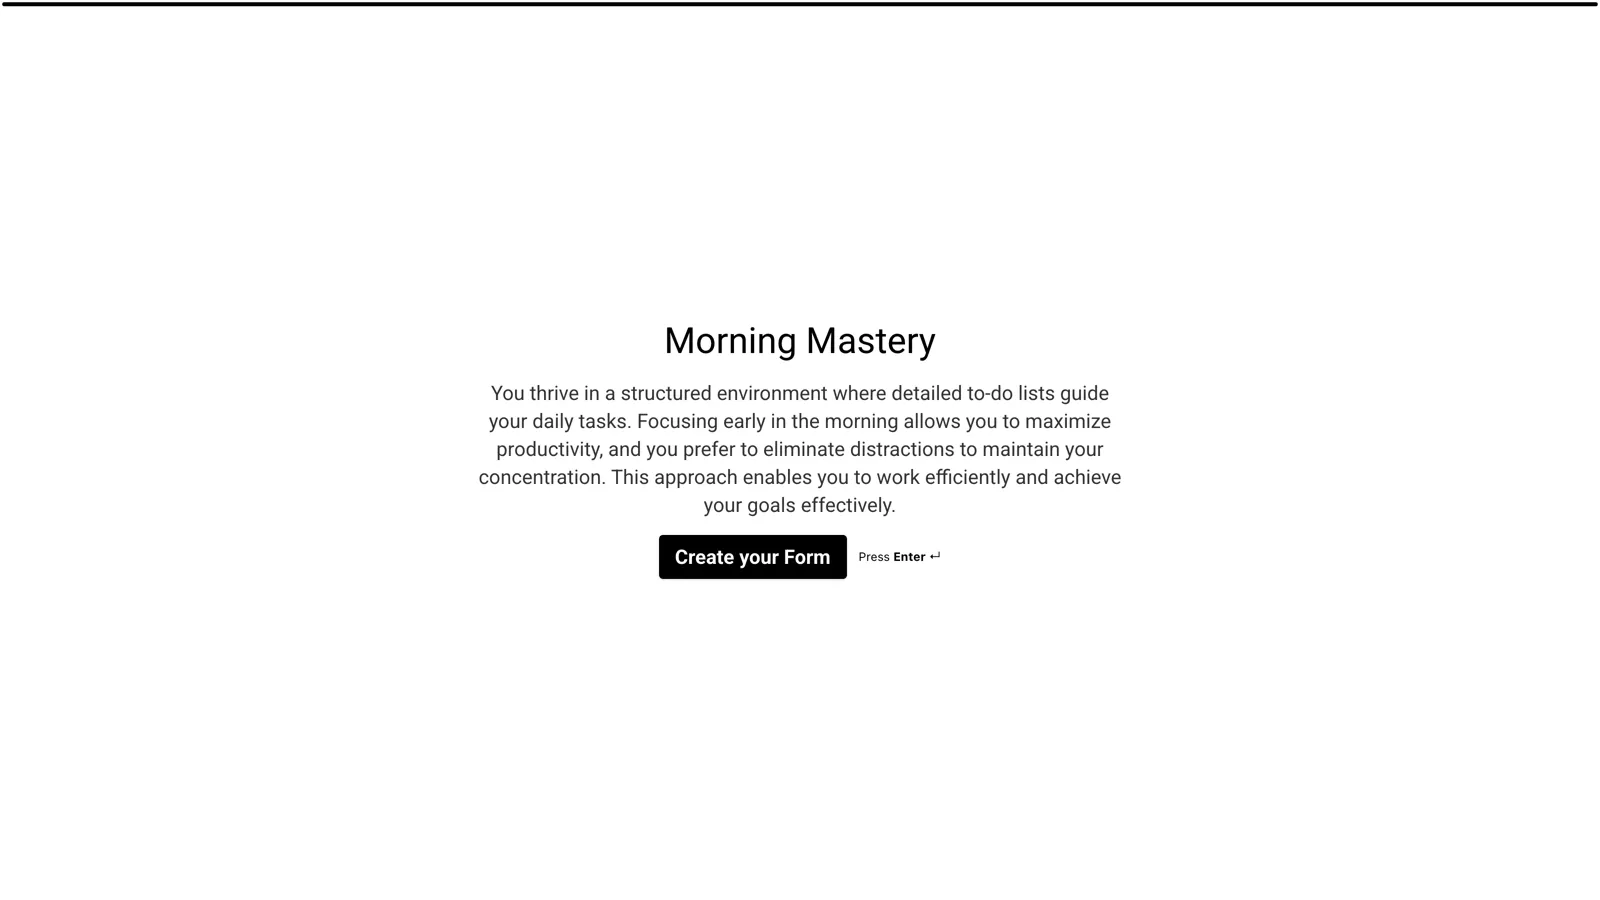
All the AI work happens on the ending screen: instead of a fixed thank-you message, AI turns the three answers into a named productivity profile with a short, encouraging summary.
Enable AI for a field
Select the field you want to make dynamic, in our example the ending screen. In the right sidebar, open the AI tab (it carries a Beta badge) next to Question and Logic.
Inside the AI tab there are two toggles:
- Generate title with AI
- Generate description with AI
Turn on whichever you need. You can use one, the other, or both on the same field.
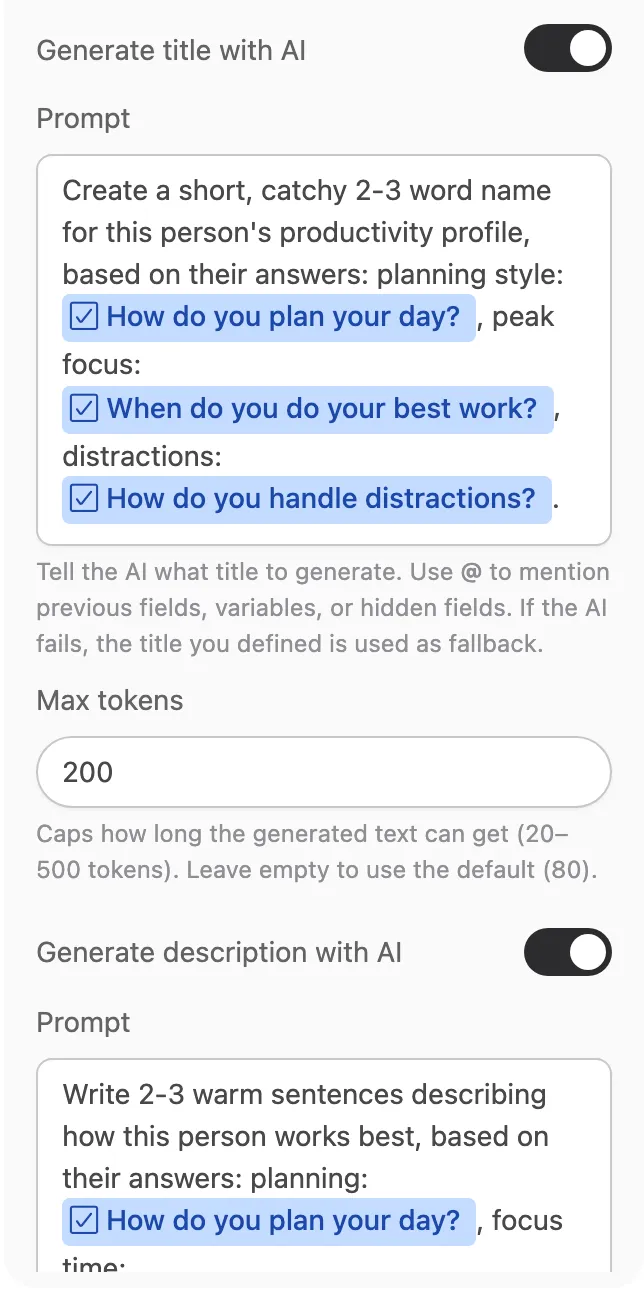
When a toggle is on, a Prompt box appears. Write instructions describing what you want the AI to produce, for example “Create a short, catchy 2-3 word name for this person’s productivity profile.” Below the prompt, the optional Max tokens field caps how long the generated text can get (20 to 500 tokens; leave it empty to use the default, which is 80 for titles and 220 for descriptions).
Reference previous answers with @
A prompt becomes personal when it can read what the respondent already answered. Inside the prompt box, type @ to open a list of fields you can reference, then pick the question whose answer you want to feed into the AI. Variables and hidden fields can be mentioned the same way.
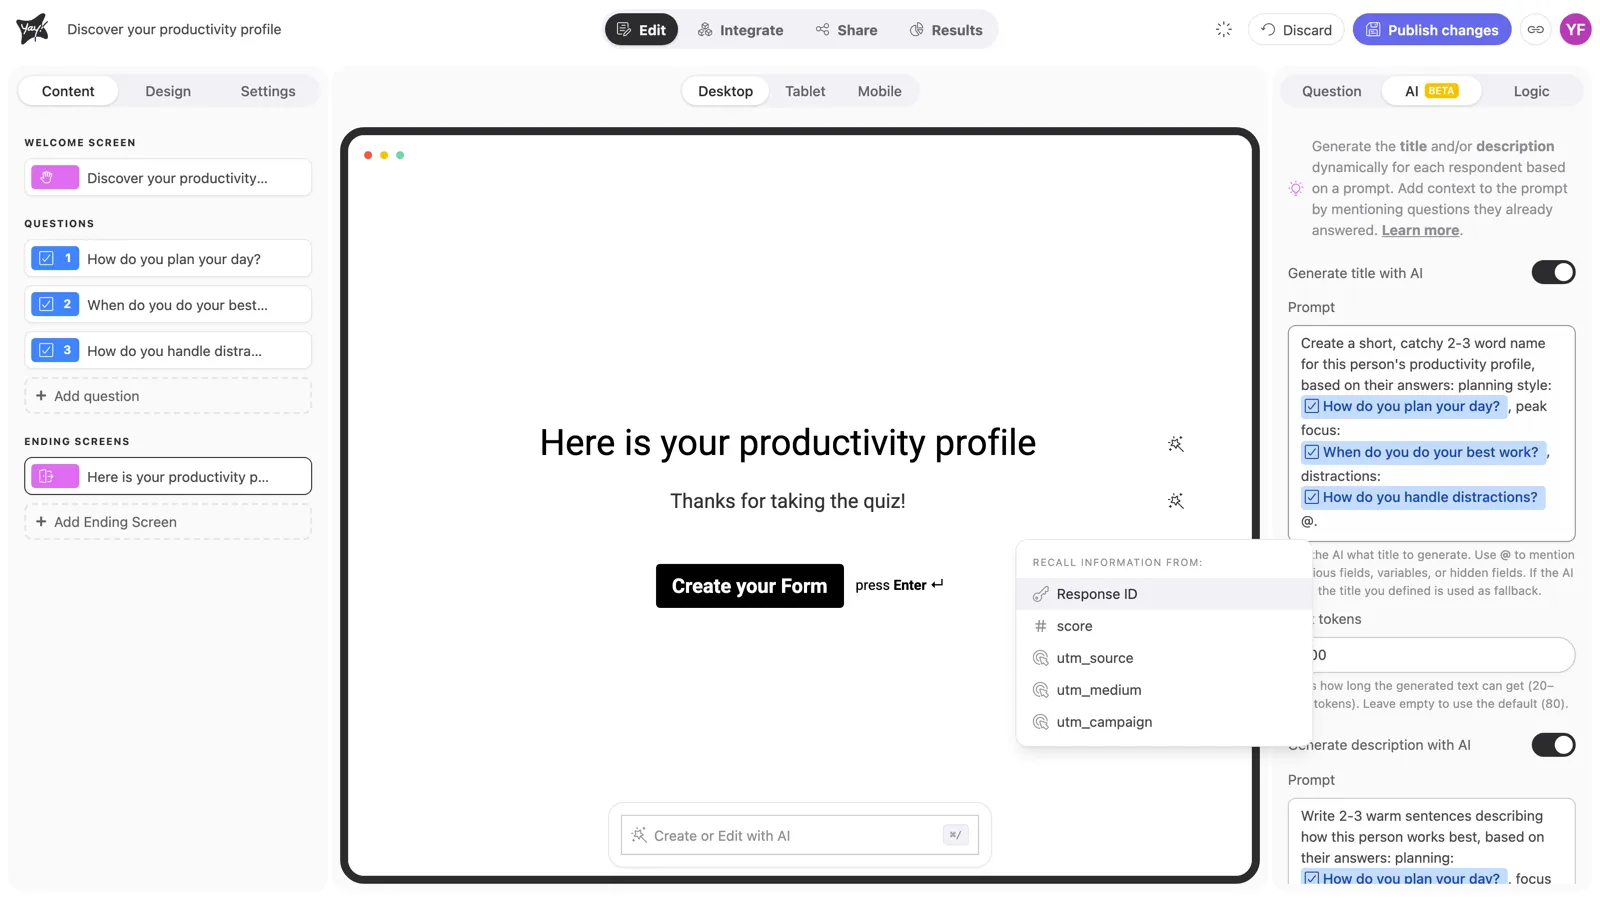
In the productivity quiz, both prompts mention all three questions, so the AI has the full picture before naming the profile. For a deeper look at mentions, see How to Use the Mention Feature in Yay! Forms.
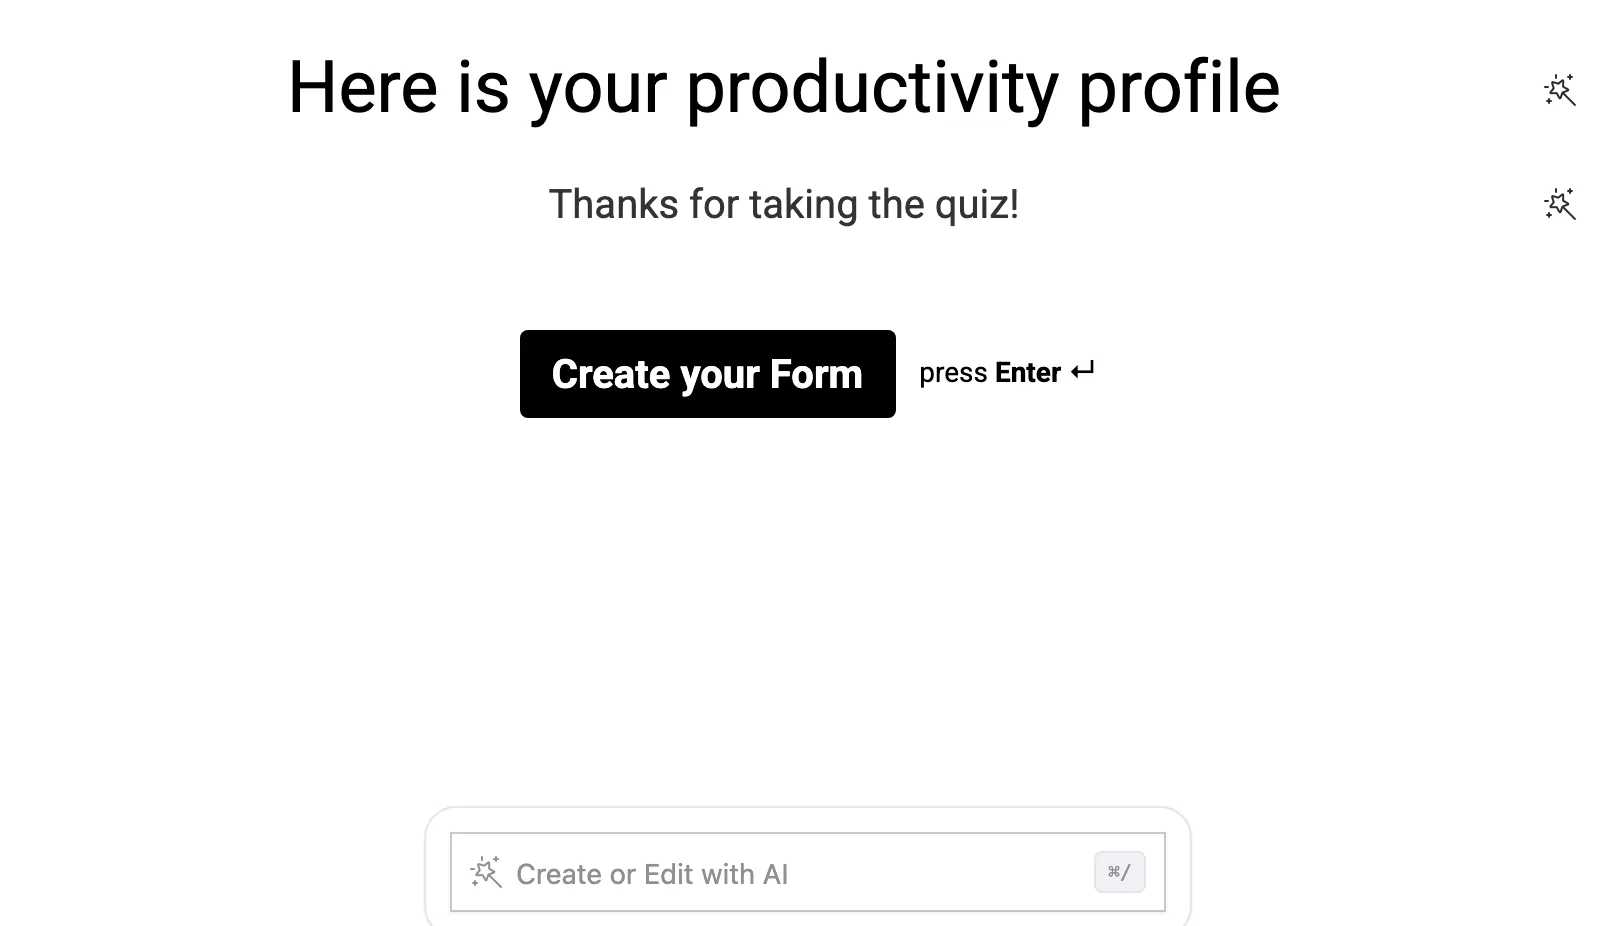
A small magic-wand icon appears next to any title or description that is set to be generated by AI, so you can tell at a glance which parts of the form are dynamic.
Fallback if AI fails
The title and description you typed normally are never lost. If the AI call fails, the respondent simply sees the static text you wrote, in our example “Here is your productivity profile”. Always keep a sensible static title and description as a safety net.
How respondents see it
The form starts like any other. Our quiz opens with its static welcome screen, and the three questions behave exactly as usual.
When the respondent reaches the AI-enabled ending screen, the content is generated live: the title streams in as it’s written, then the description.

Once generation finishes, the respondent sees their personalized content: in our quiz, a named productivity profile and a short summary based on their three answers. The exact wording varies from respondent to respondent, since it’s generated fresh each time.
Where AI content appears in your results
AI-generated titles and descriptions are saved together with the response, so you can always see exactly what each respondent was shown. Open a response’s detail in Results, under Inbox: the generated text appears in the AI Title and AI Description blocks under the field.
Conclusion
You learned how to let AI generate the title and description of a question or ending screen: enable the toggles in the AI tab, write a prompt, mention previous answers with @, and keep a static fallback in place. Short, specific prompts work best, and the @ mentions are what make the result personal to each respondent.
Related articles: